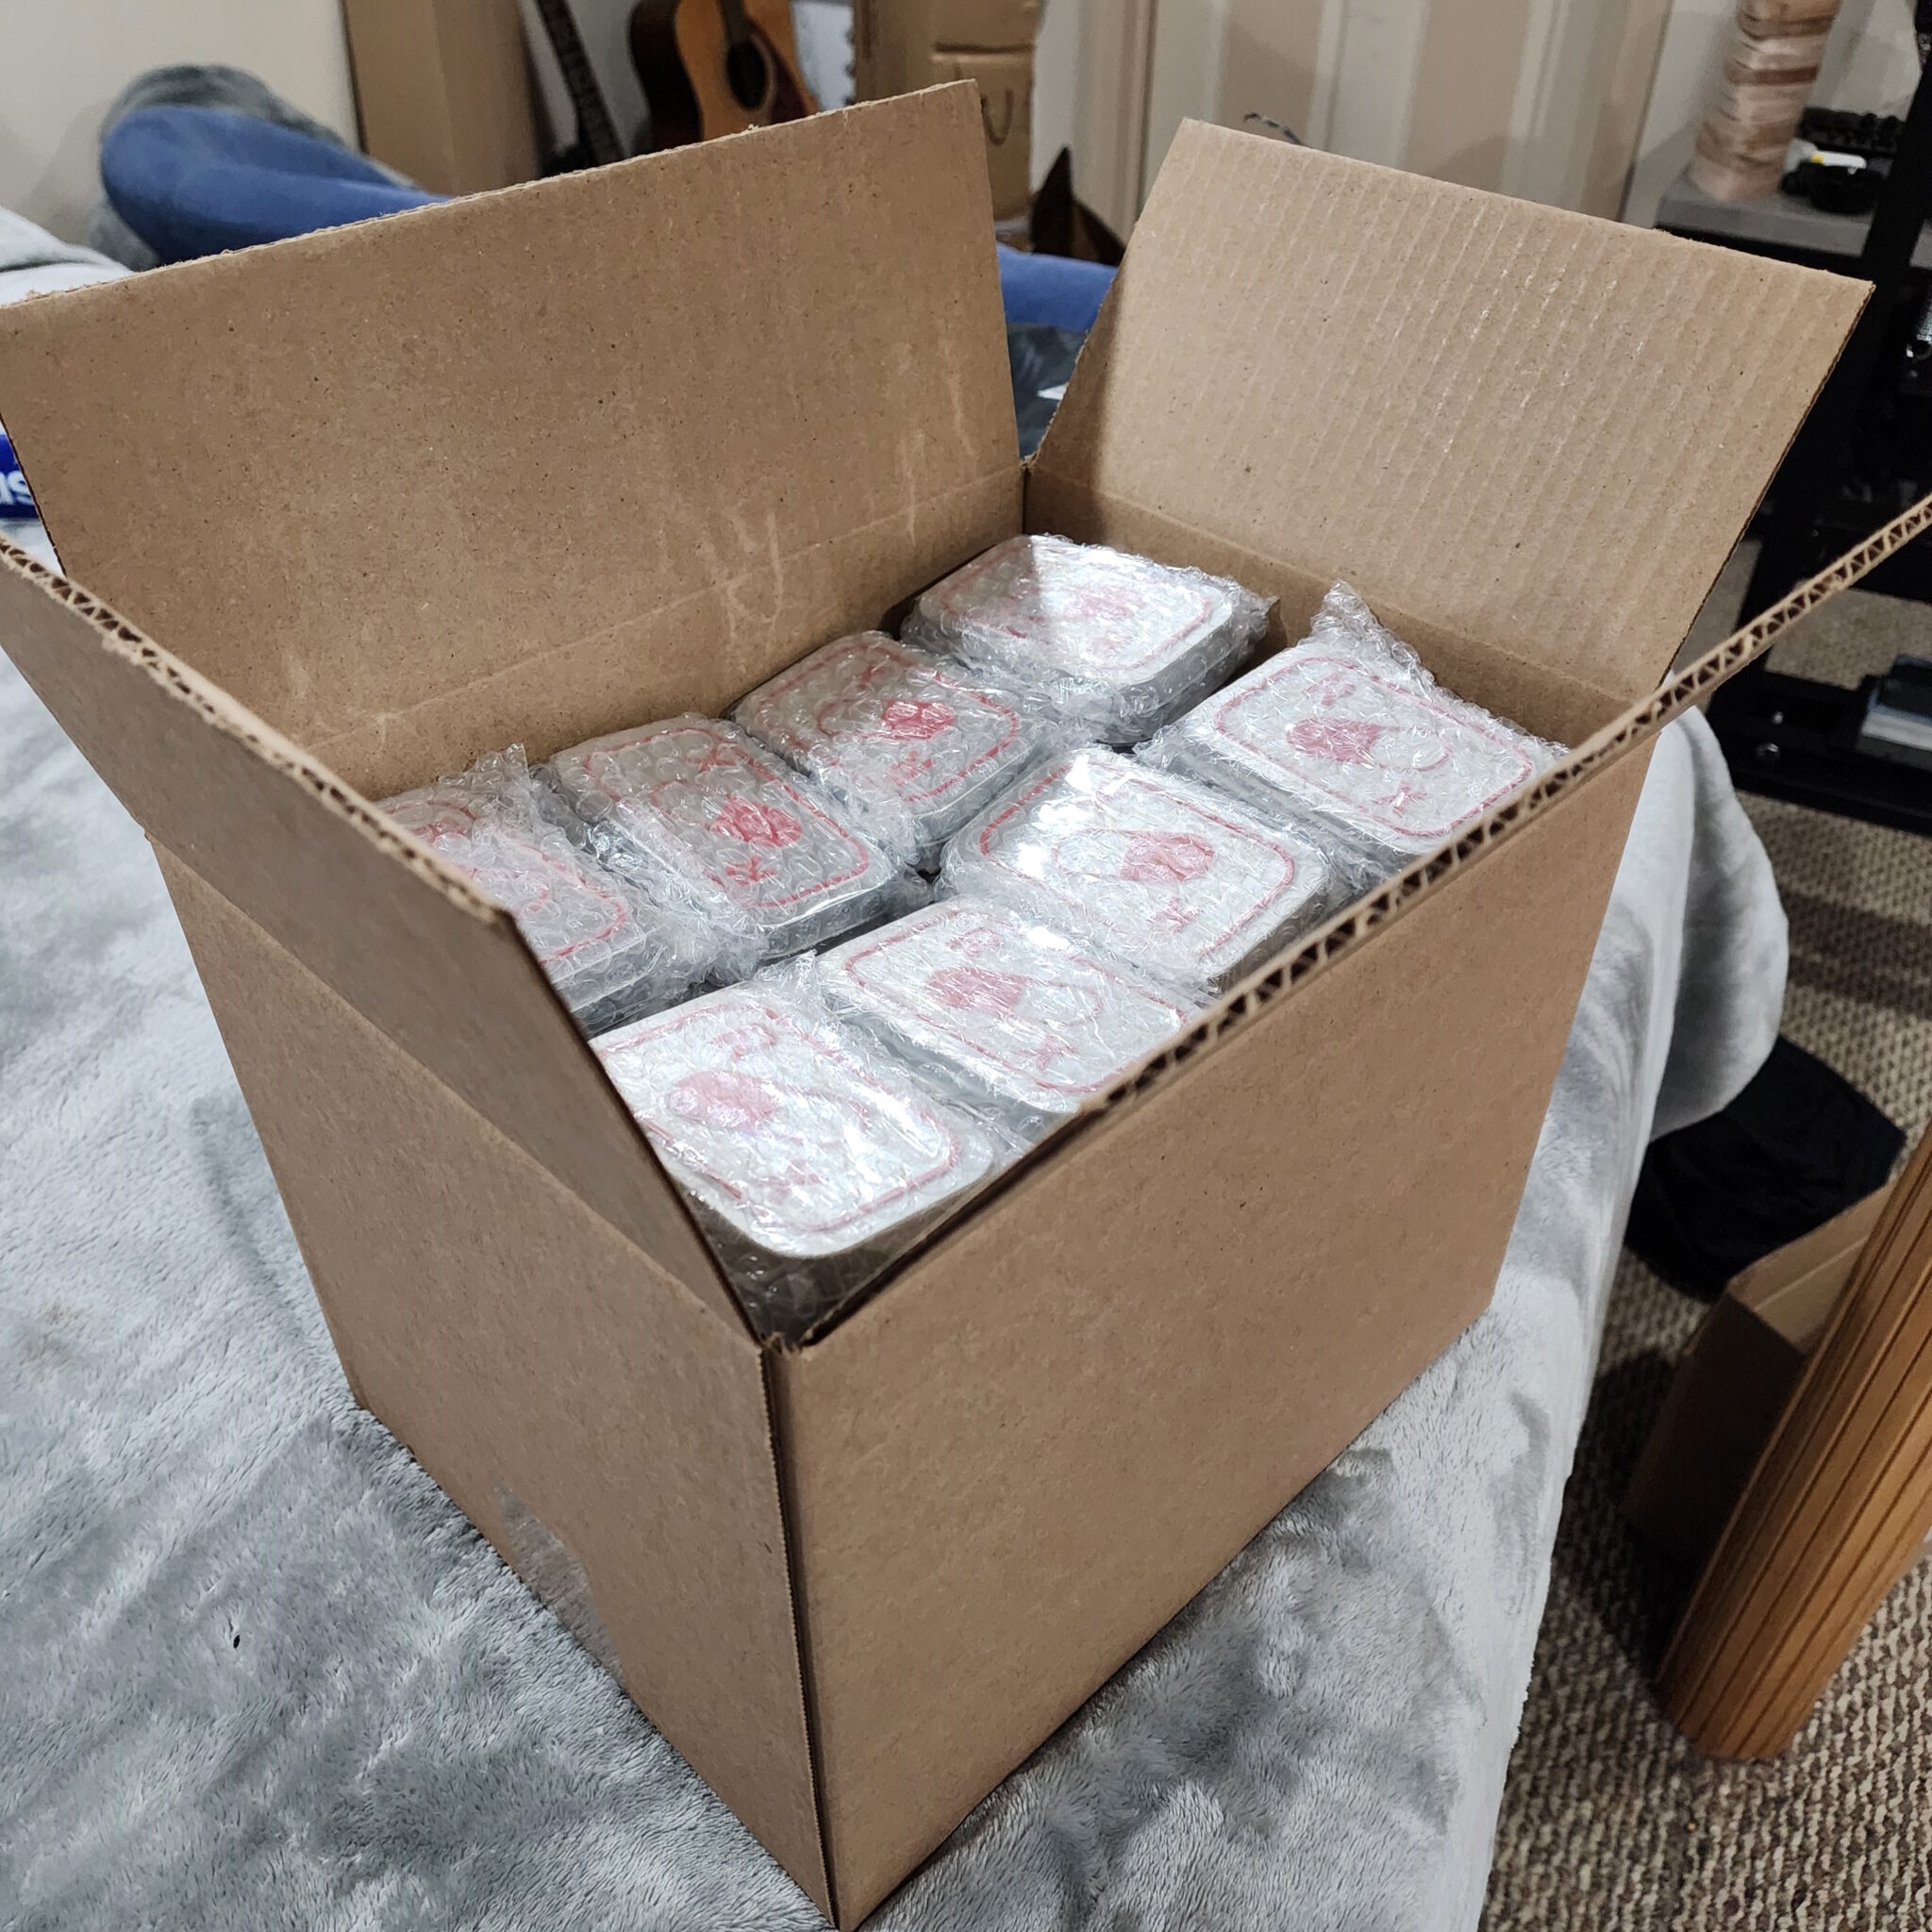
I designed, produced, and sold my own line of unique products totaling up to over 750 orders on Etsy in just over 2 years from zero brand recognition to a Star Seller rating with over 150 five-star reviews.
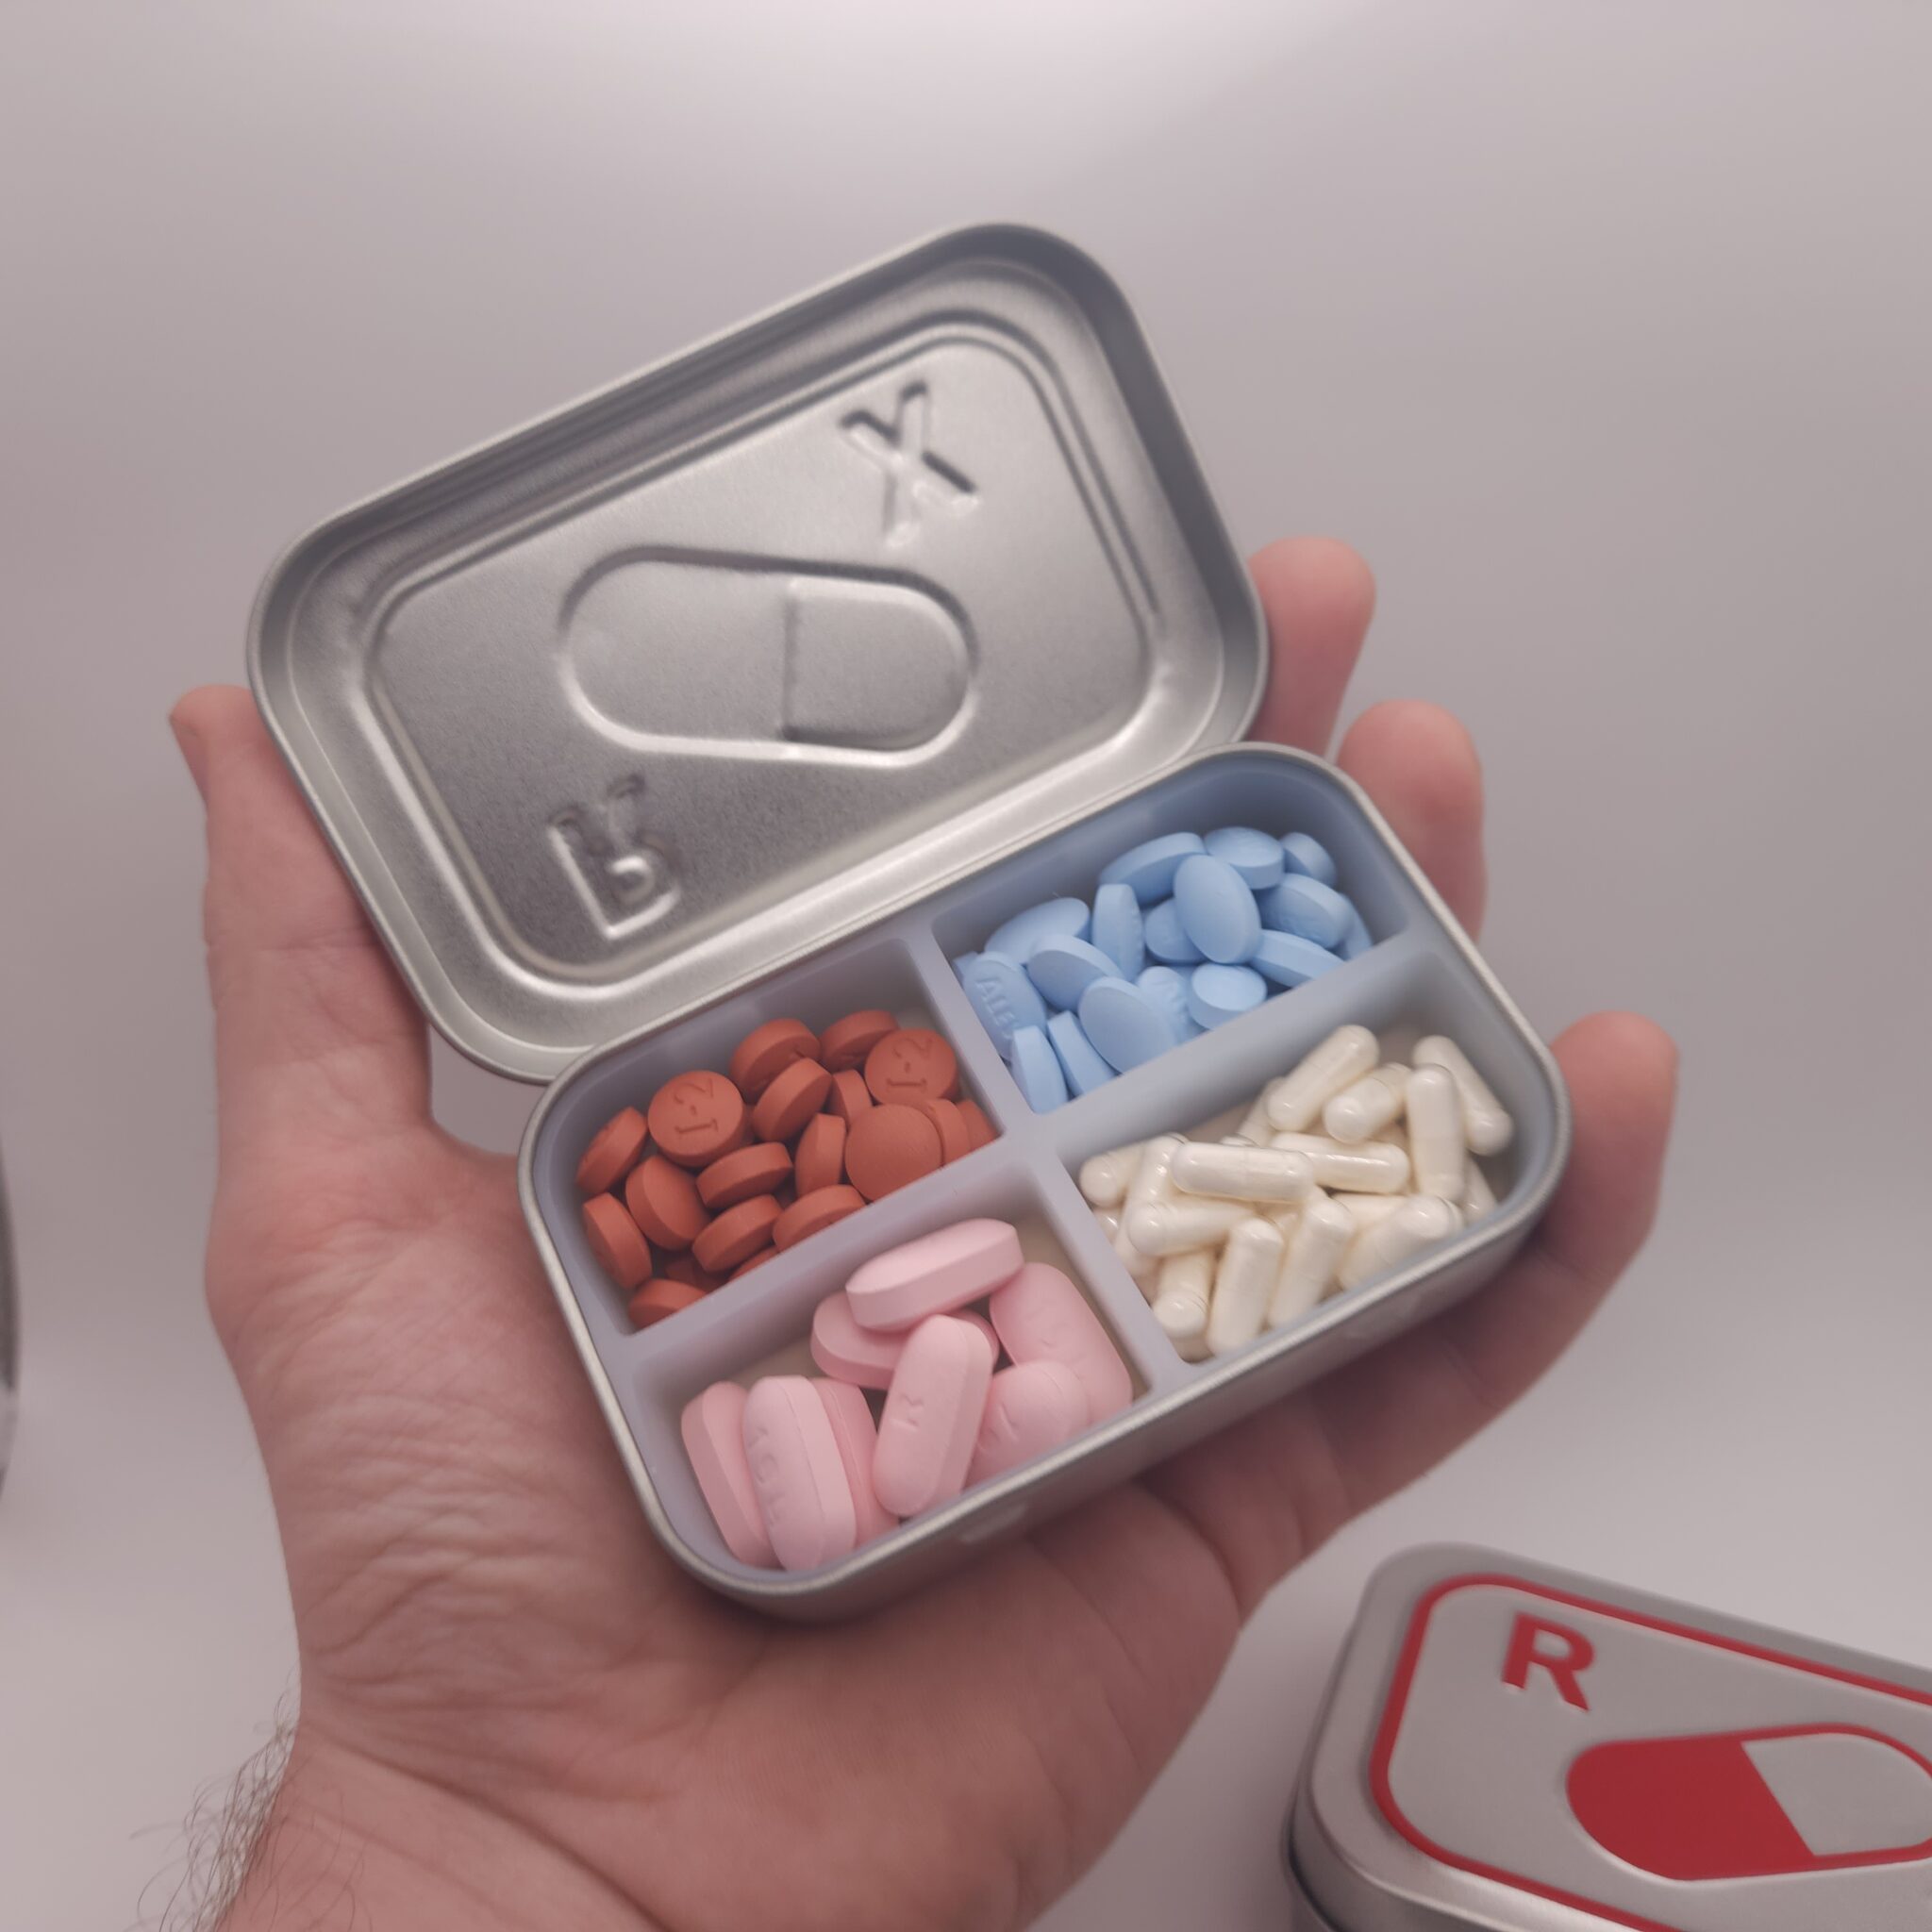
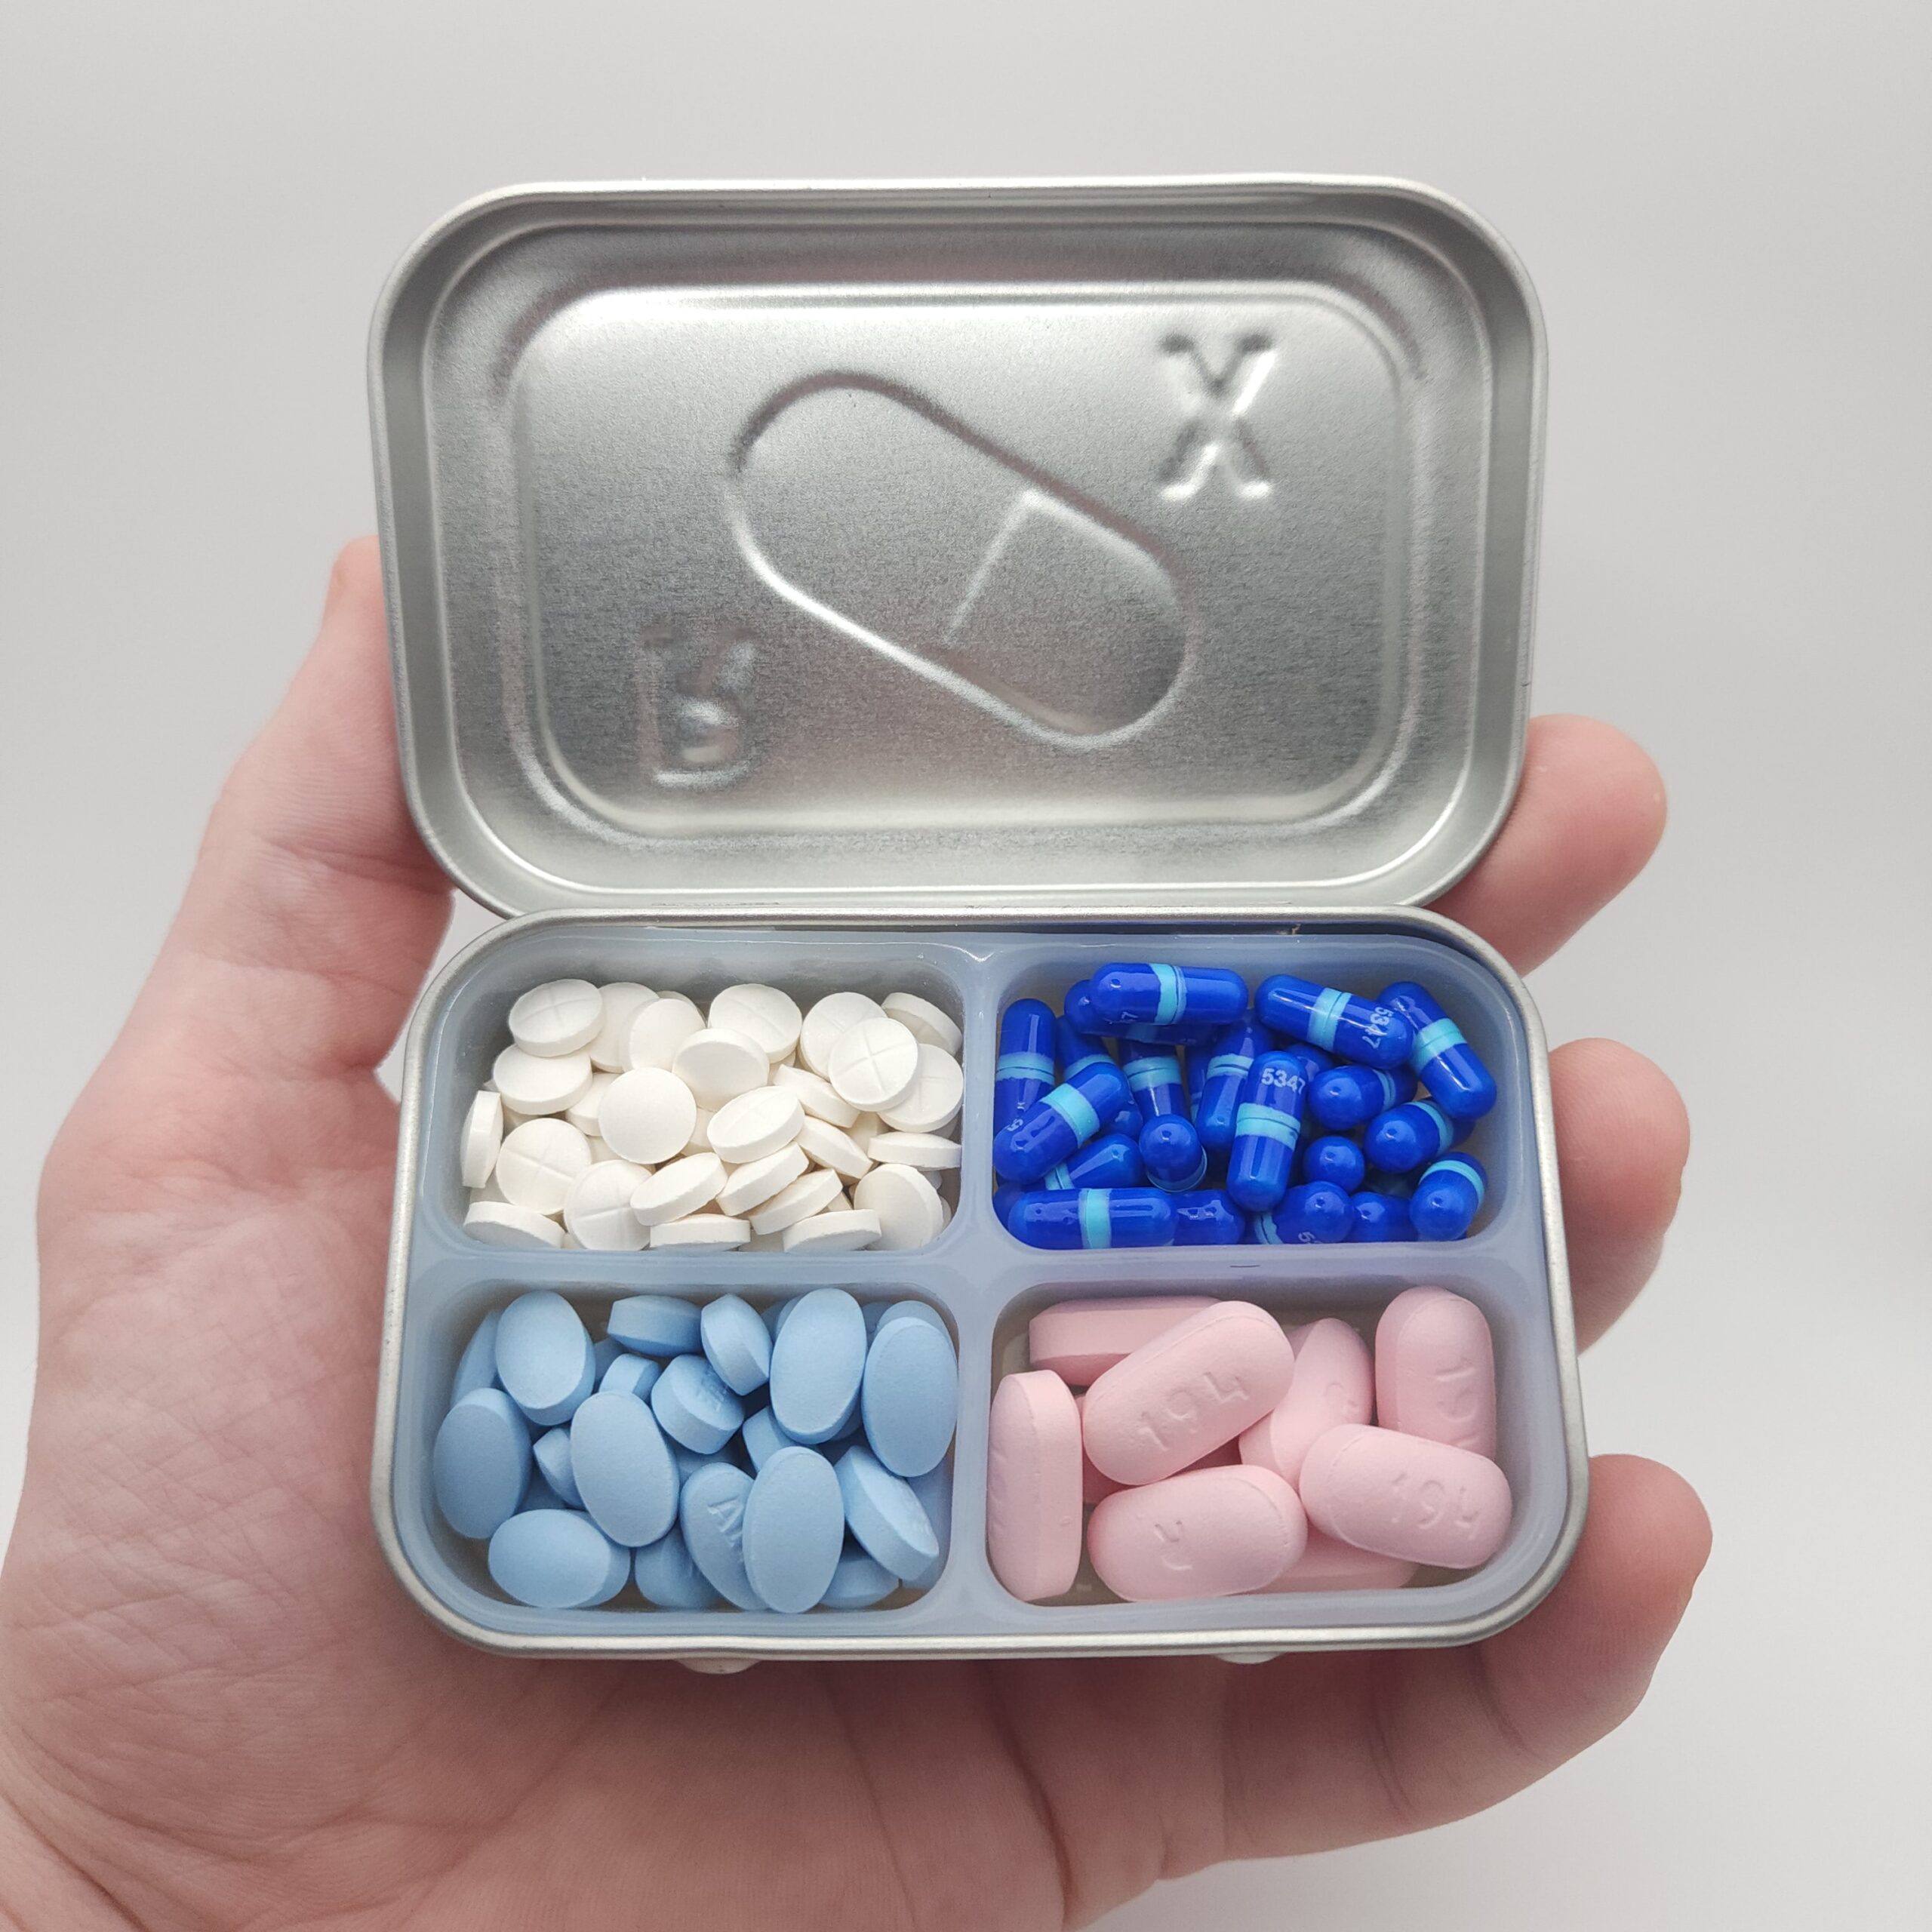
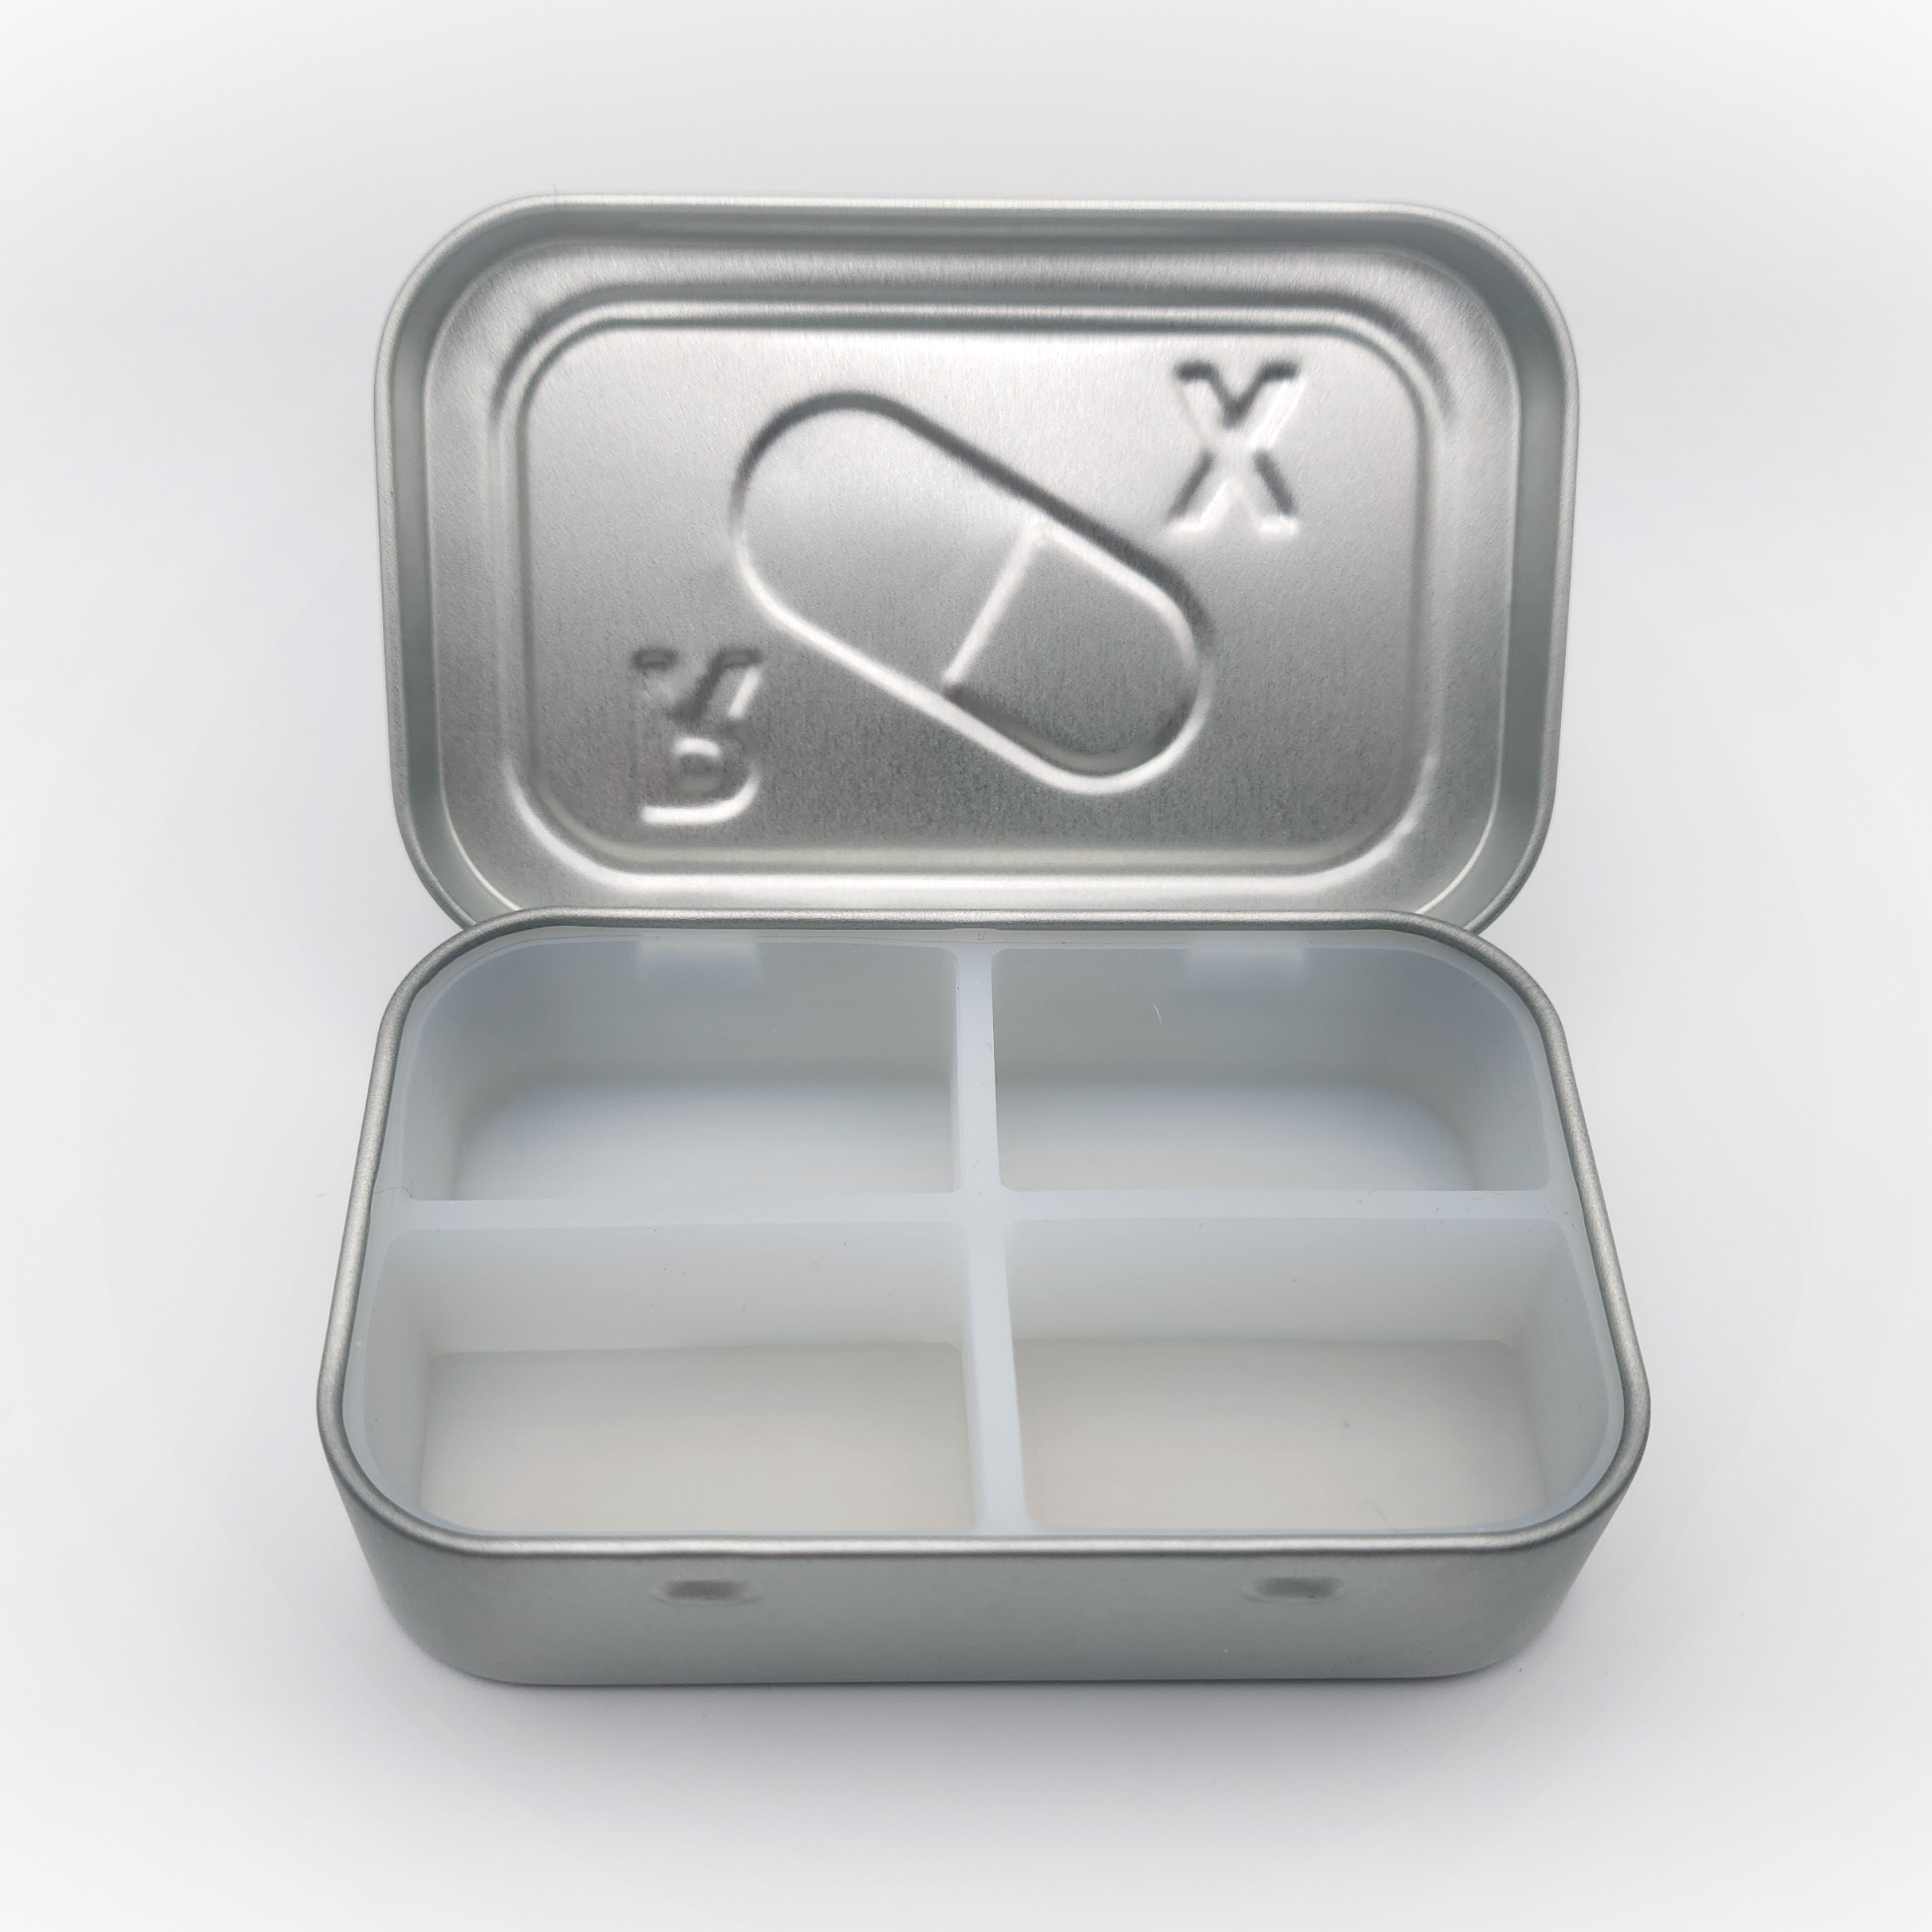
A standout project during my time selling on Etsy was the development and evolution of one of the shop’s products, the ‘Travel Pill Tin with Silicone Insert’, Through its development and iterations we can see the growth from an initial idea to first product, design of the first versions, and improvements in quality, cost, and cycle time as the product grew in popularity.

Major Improvements in the design/production process from initial phase to most recent revision include:
- Increase curing temperature (4hr to 30min cure time, an 87% time reduction)
- Purchasing silicone in larger bulk containers ($0.97/oz to $0.43/oz, a 55% cost reduction)
- Hands free mixing setup with stands and timers (19 to 30 items/hr, a 36% time reduction)
- Switching from hand press to hydraulic press (60 to 80 items/hr, a 25% time reduction)
- Redesigned silicone molds (10% reduction in material and post processing time
These changes together represented a total reduction in cycle time of 26% and total material cost reduction of 21% per item.
The Design
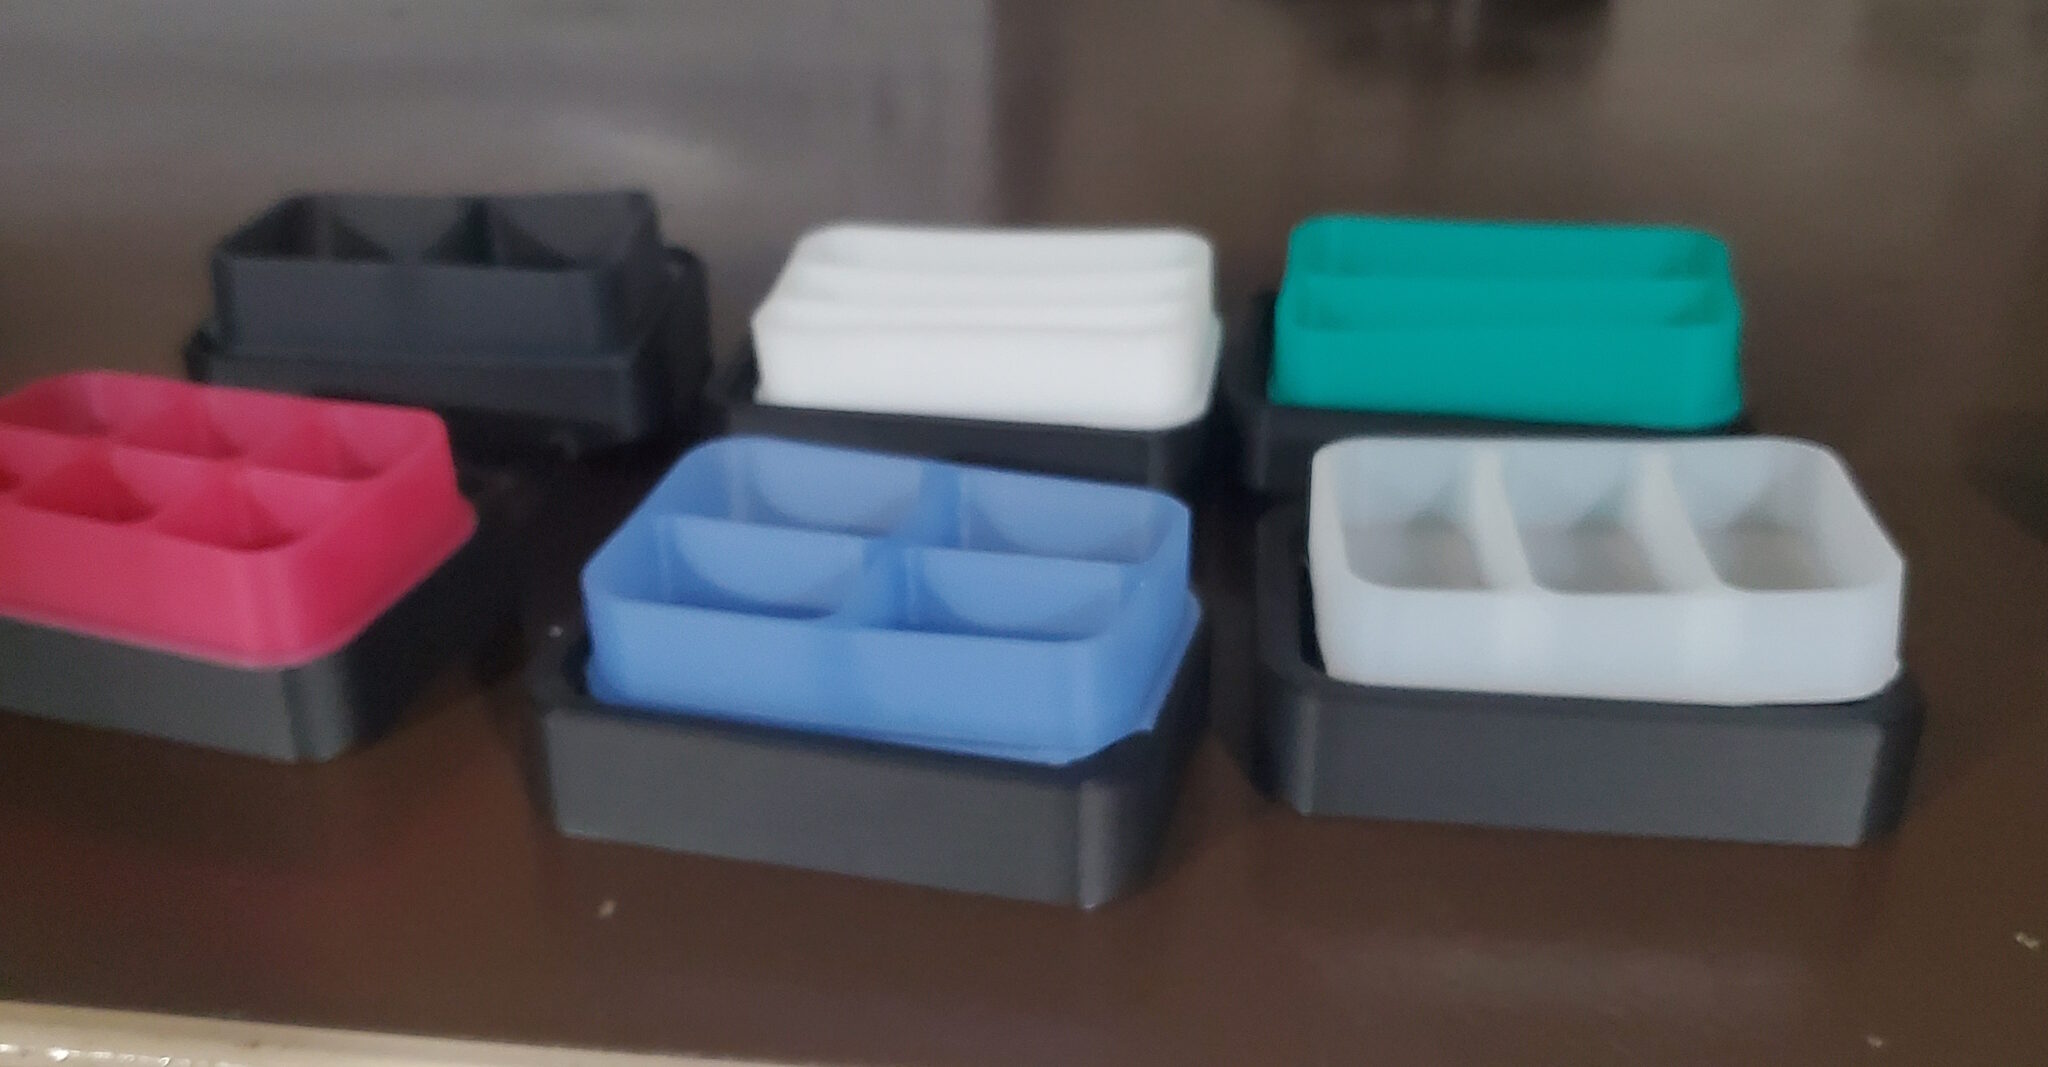
The initial idea of creative a themed metal tin with molded insert came as a variation of a previous listing, the molded insert itself. The ‘Silicone Altoid Tin insert’ was offered in 6 size variations and 6 available colors to be sure to cover the different demands of different customers, but with 36 variations of the product it made most sense to treat each order as made-to-order.
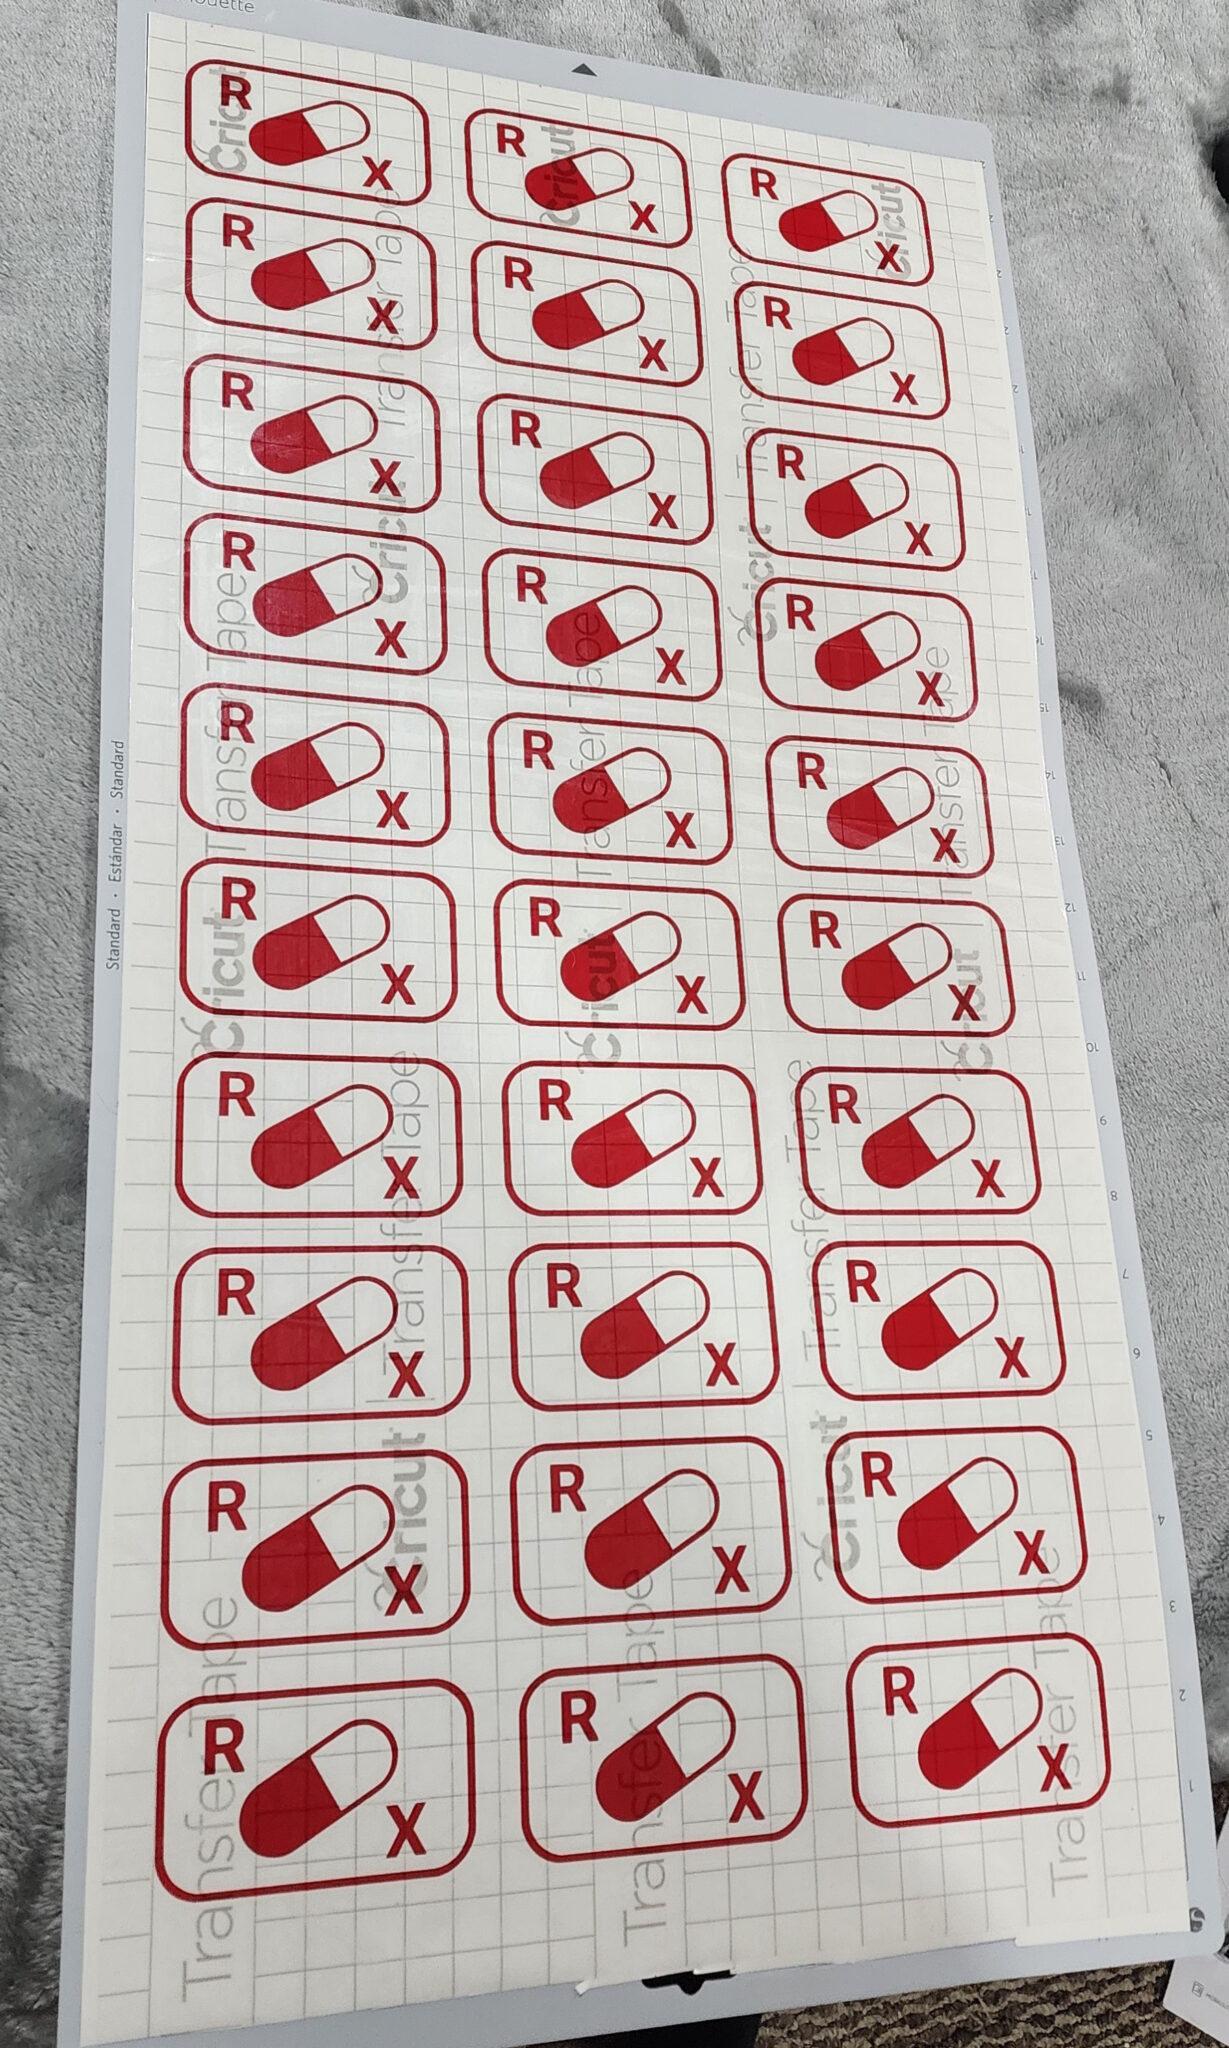
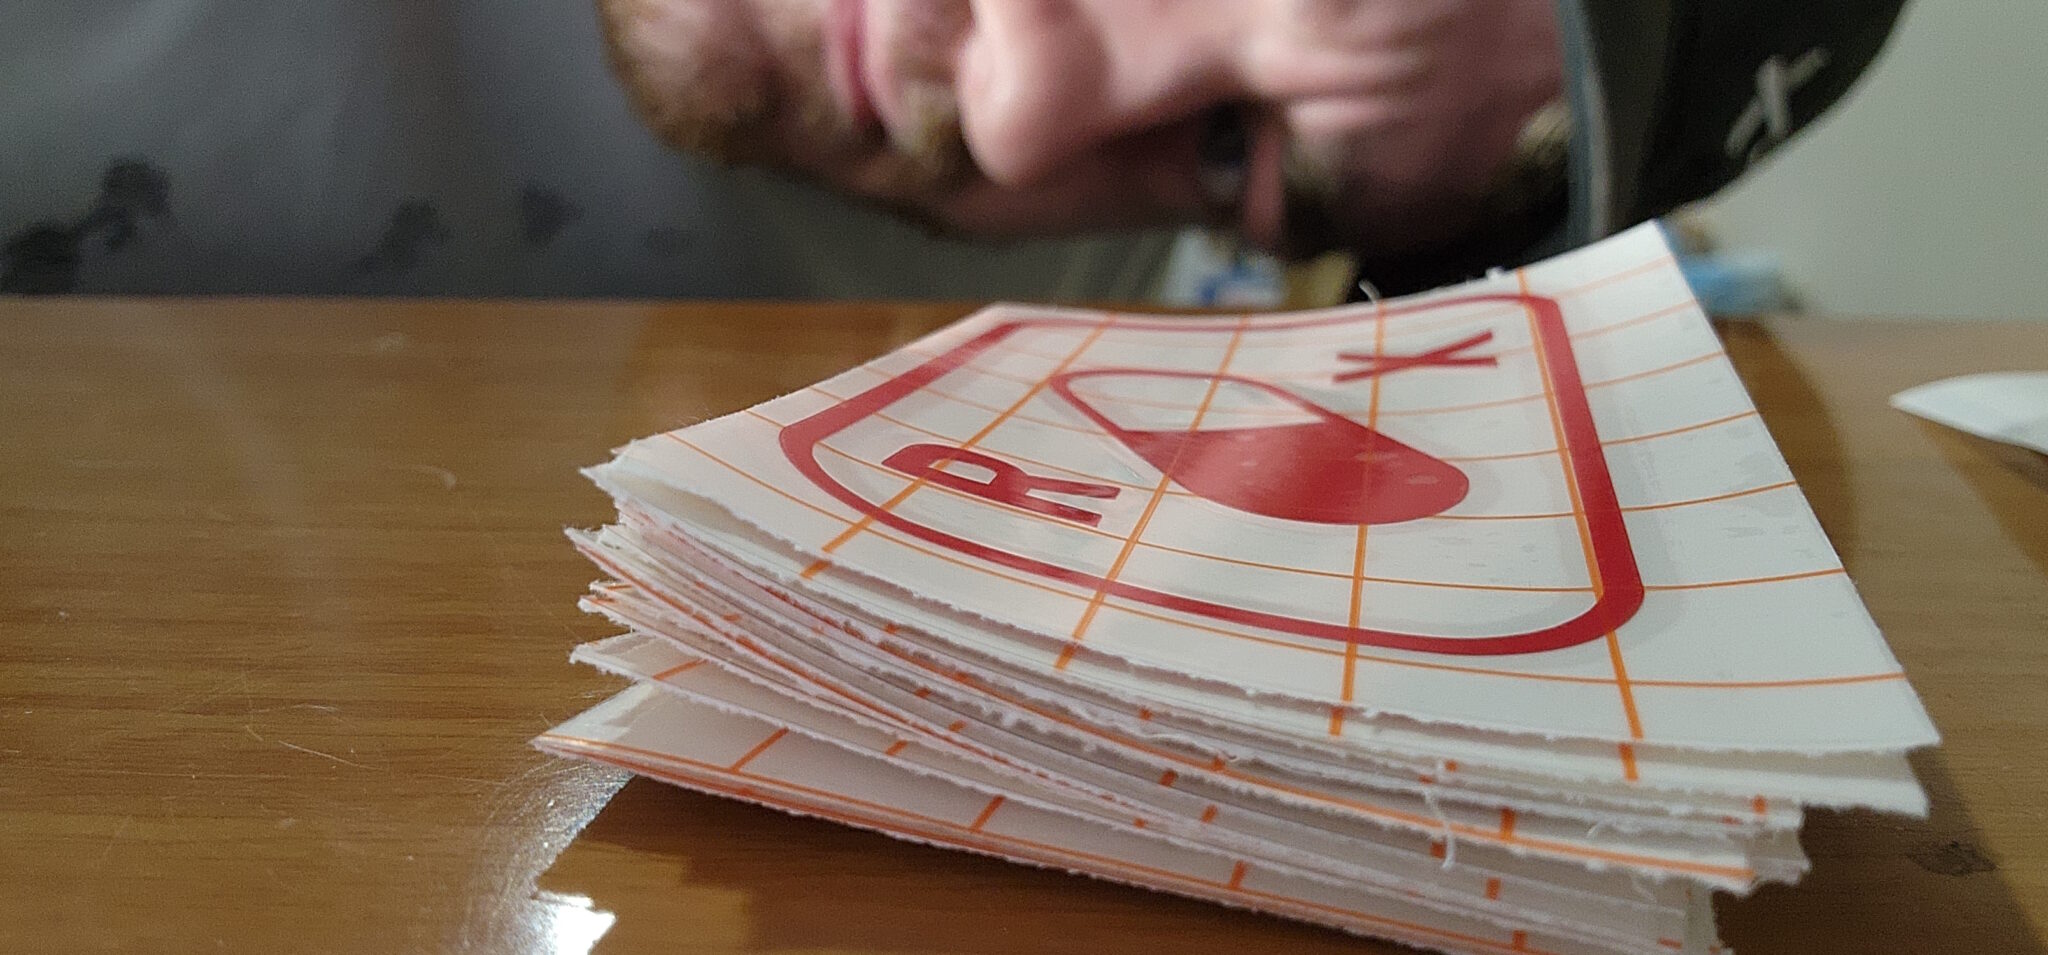
As I was gaining sales and feedback on the insert, I saw a common usecase of customers using it as a medicine organizer. To try and capture up this demand for a metal pill case of this form, I went to work making a specific design for this. The new design would only come with only a couple of sizes to keep track and stock of, moving away from the made-to-order model — this would also be crucial for future moves into trying out Amazon FBA and selling on multiple marketplaces.
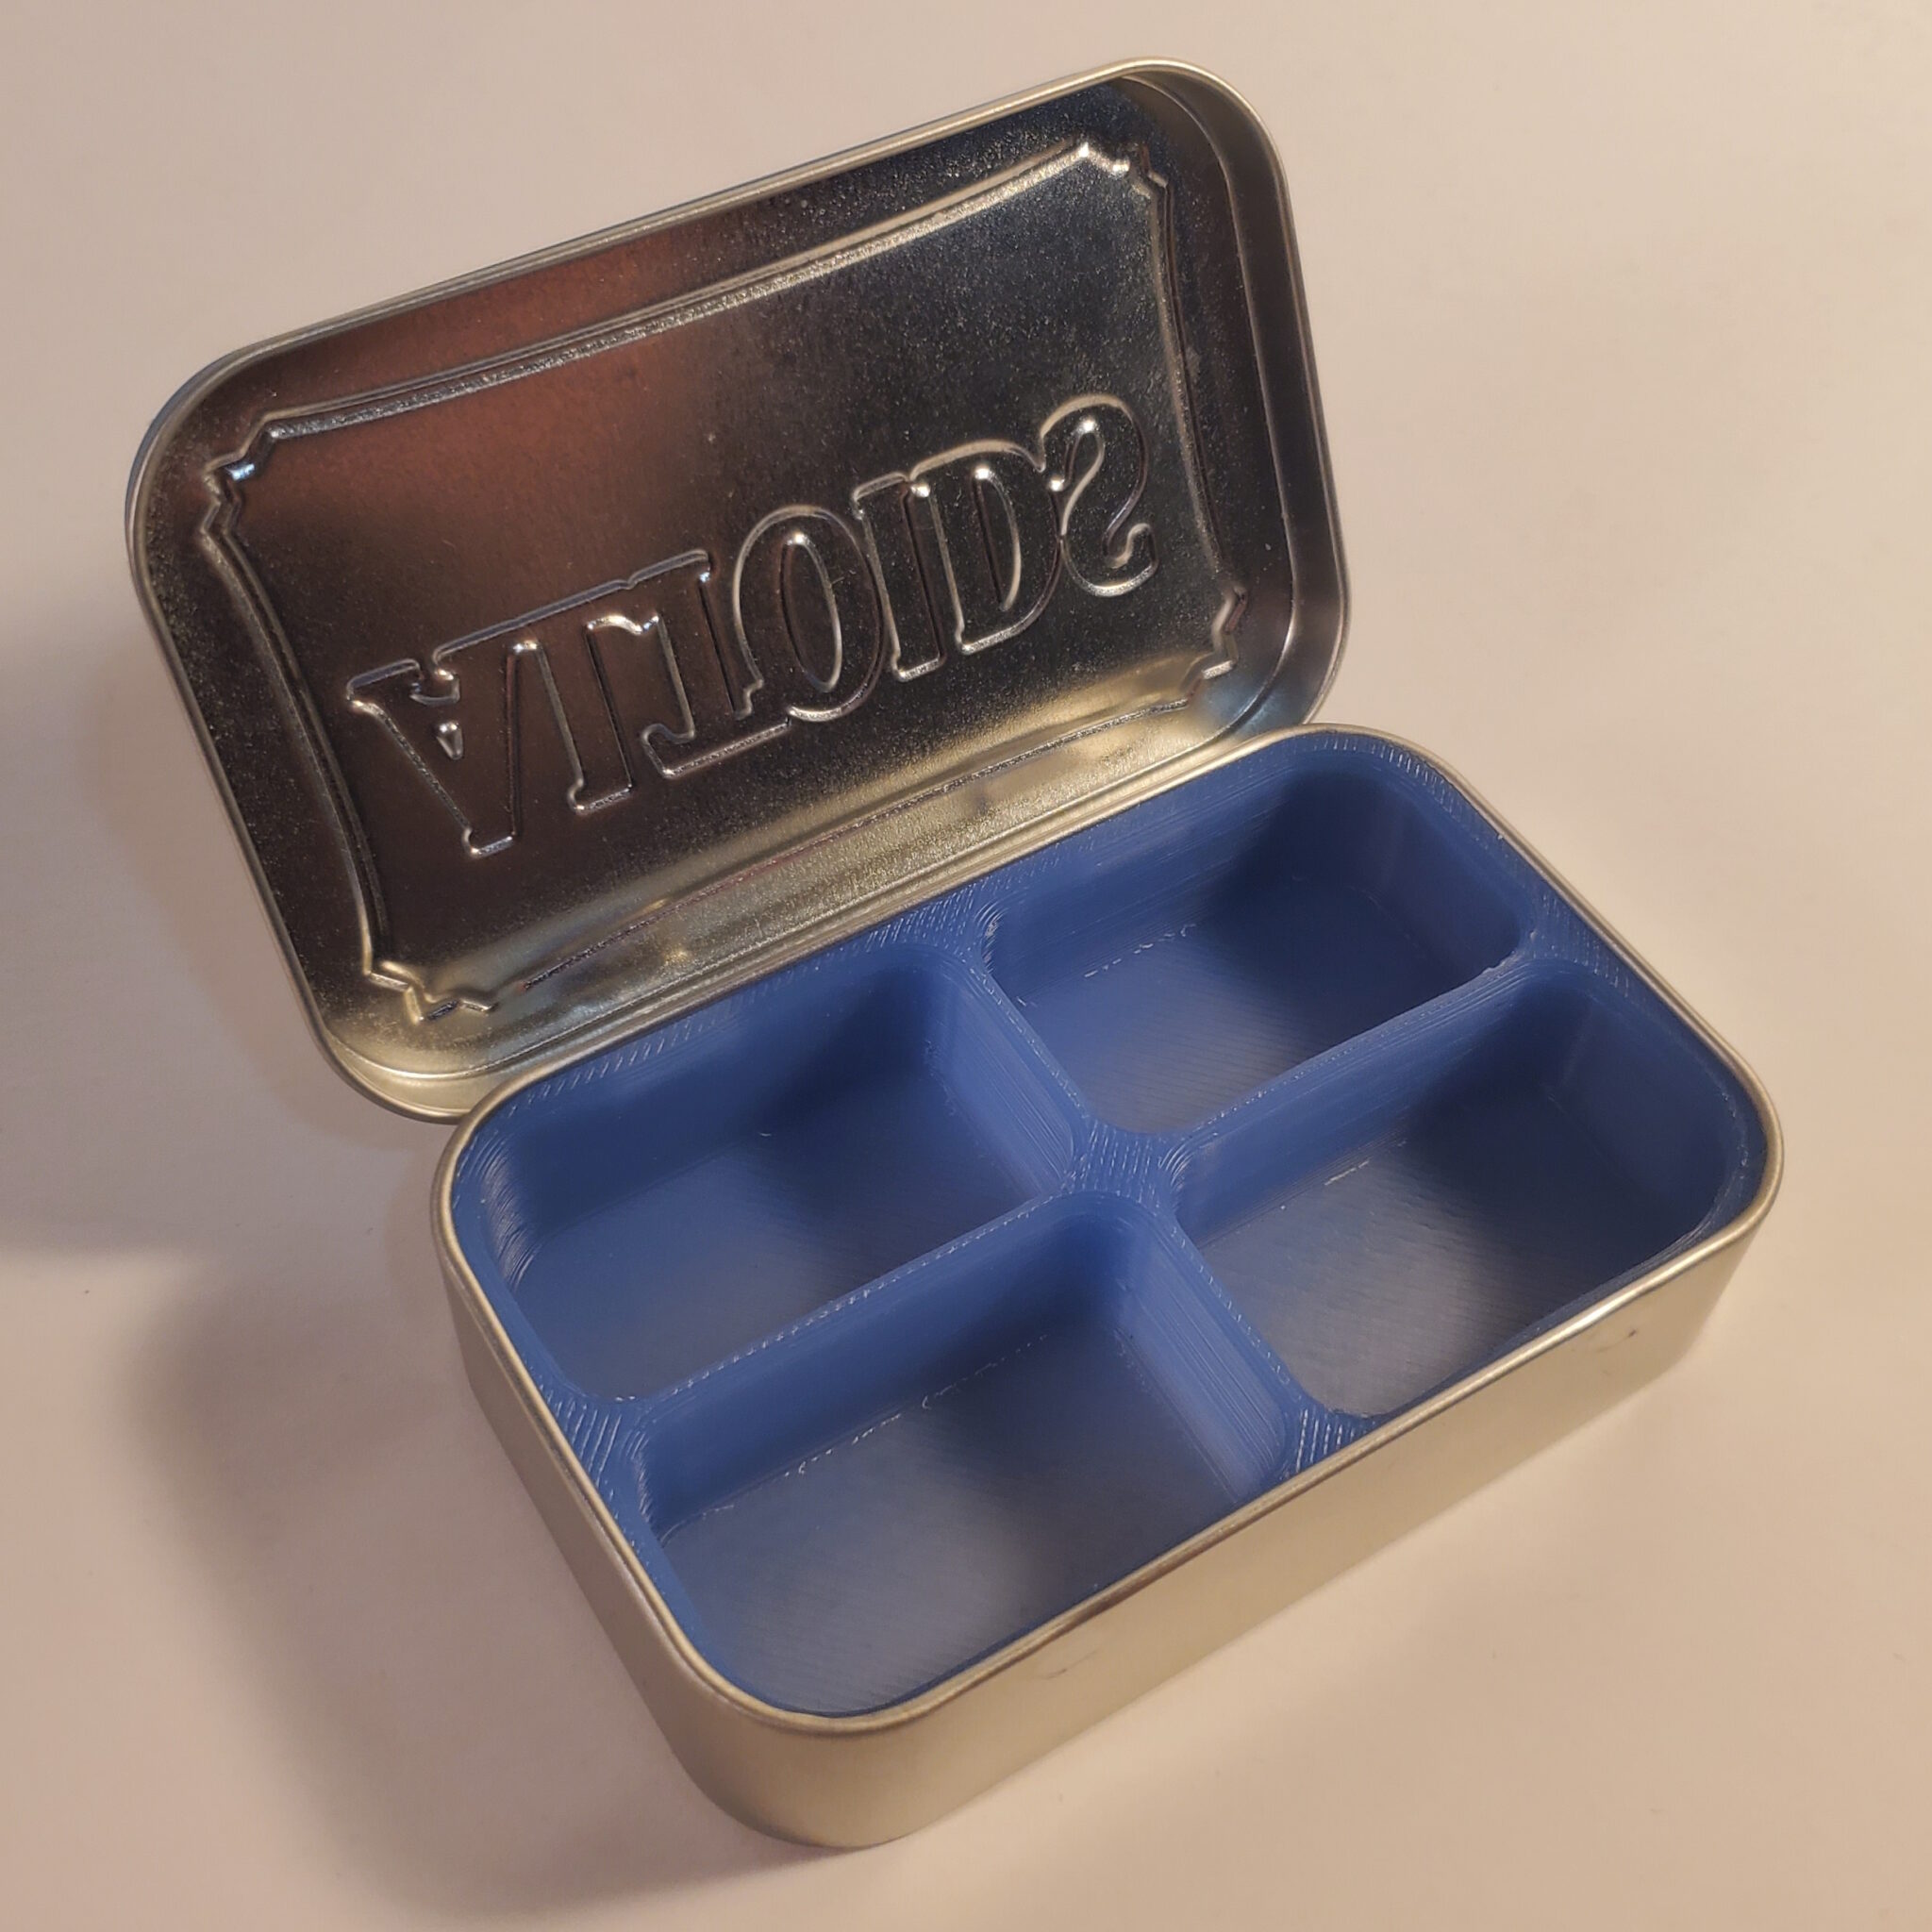
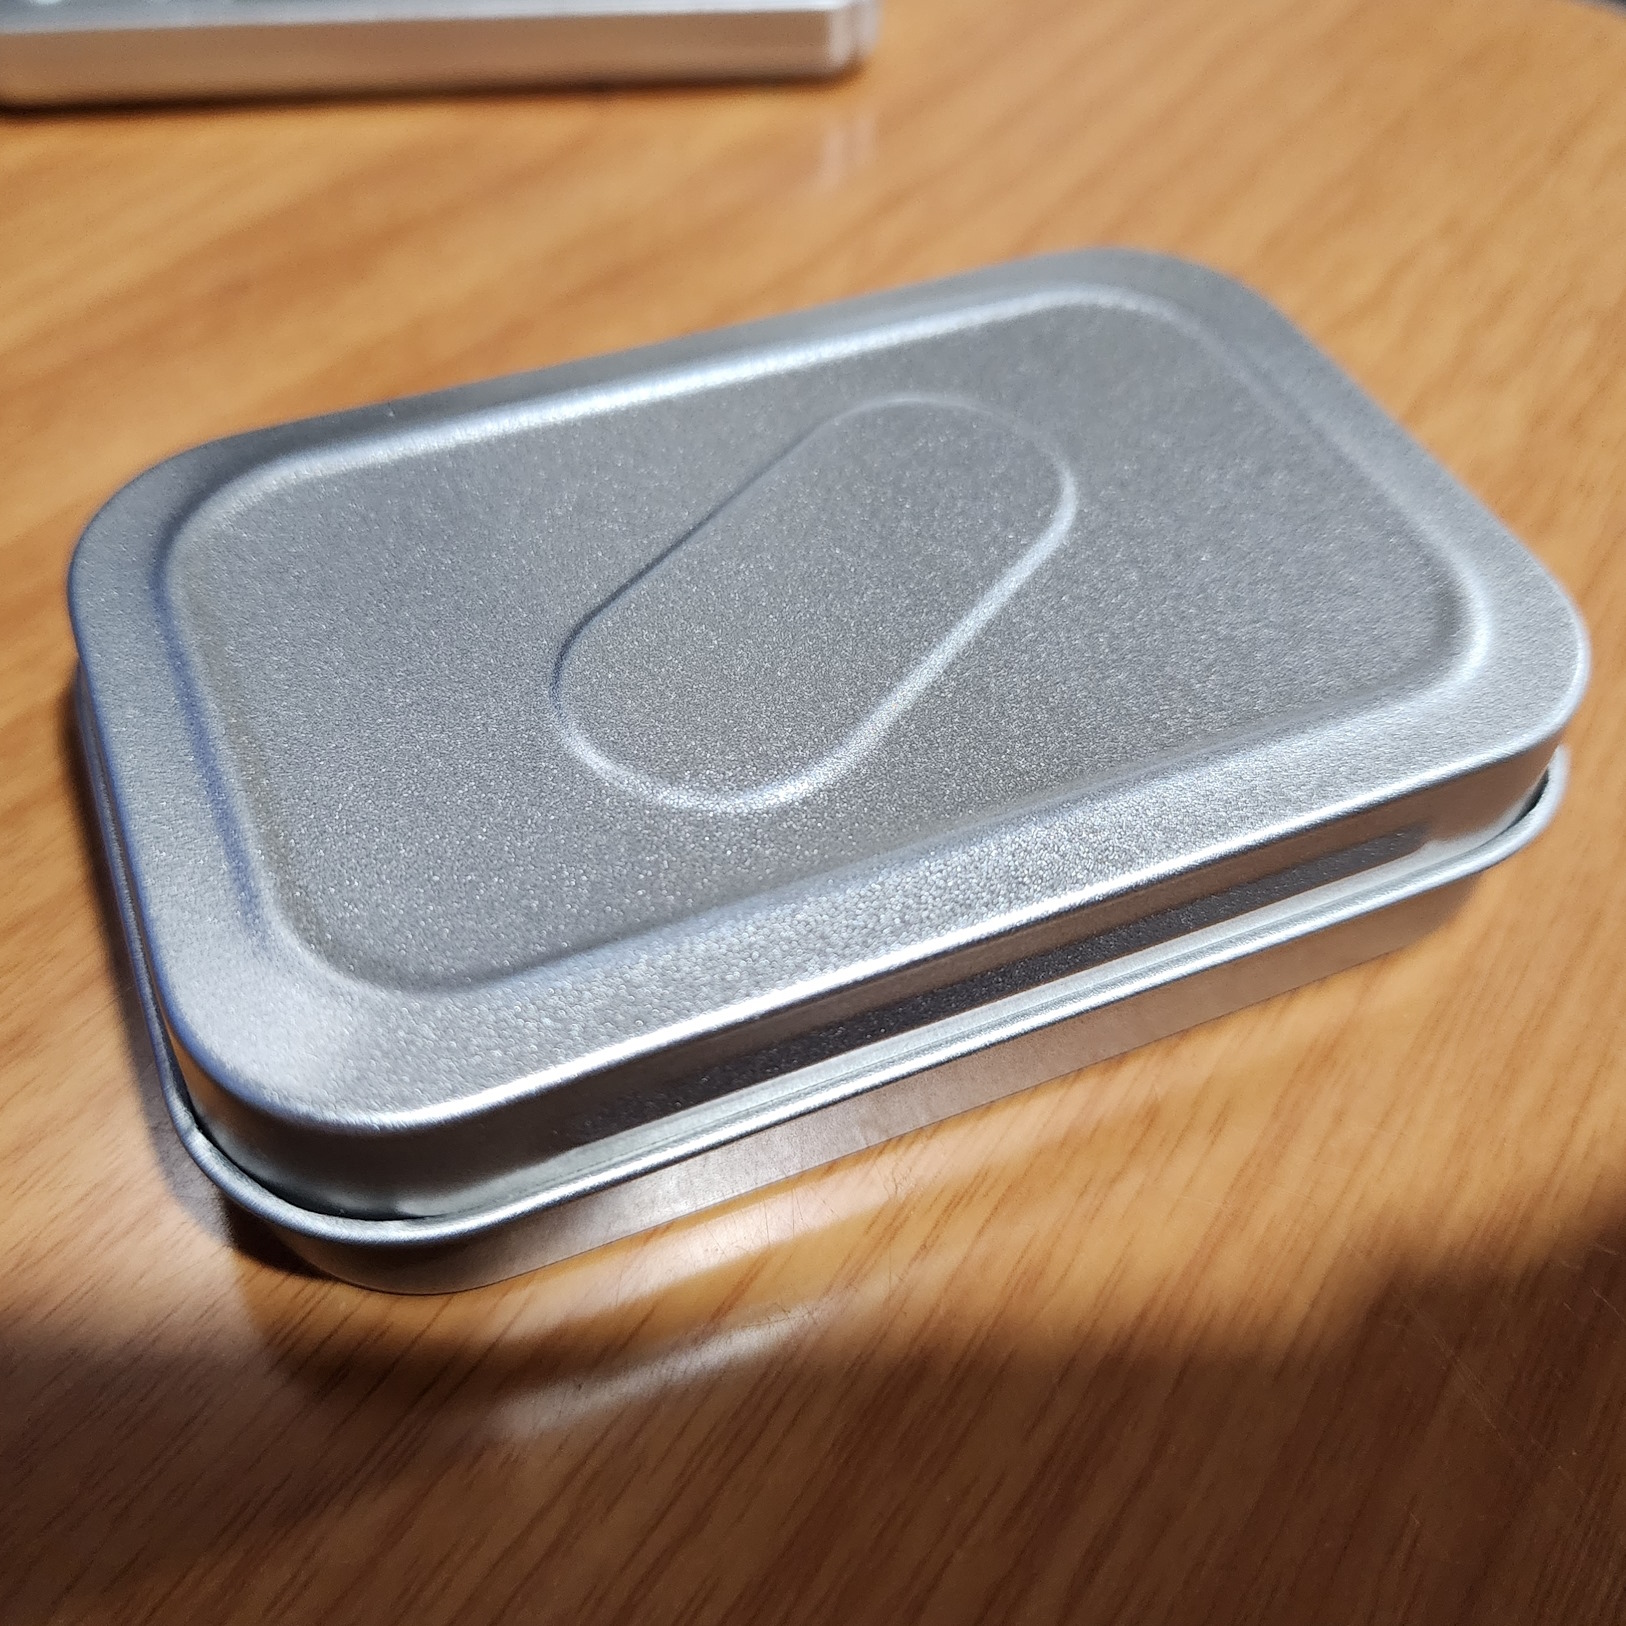
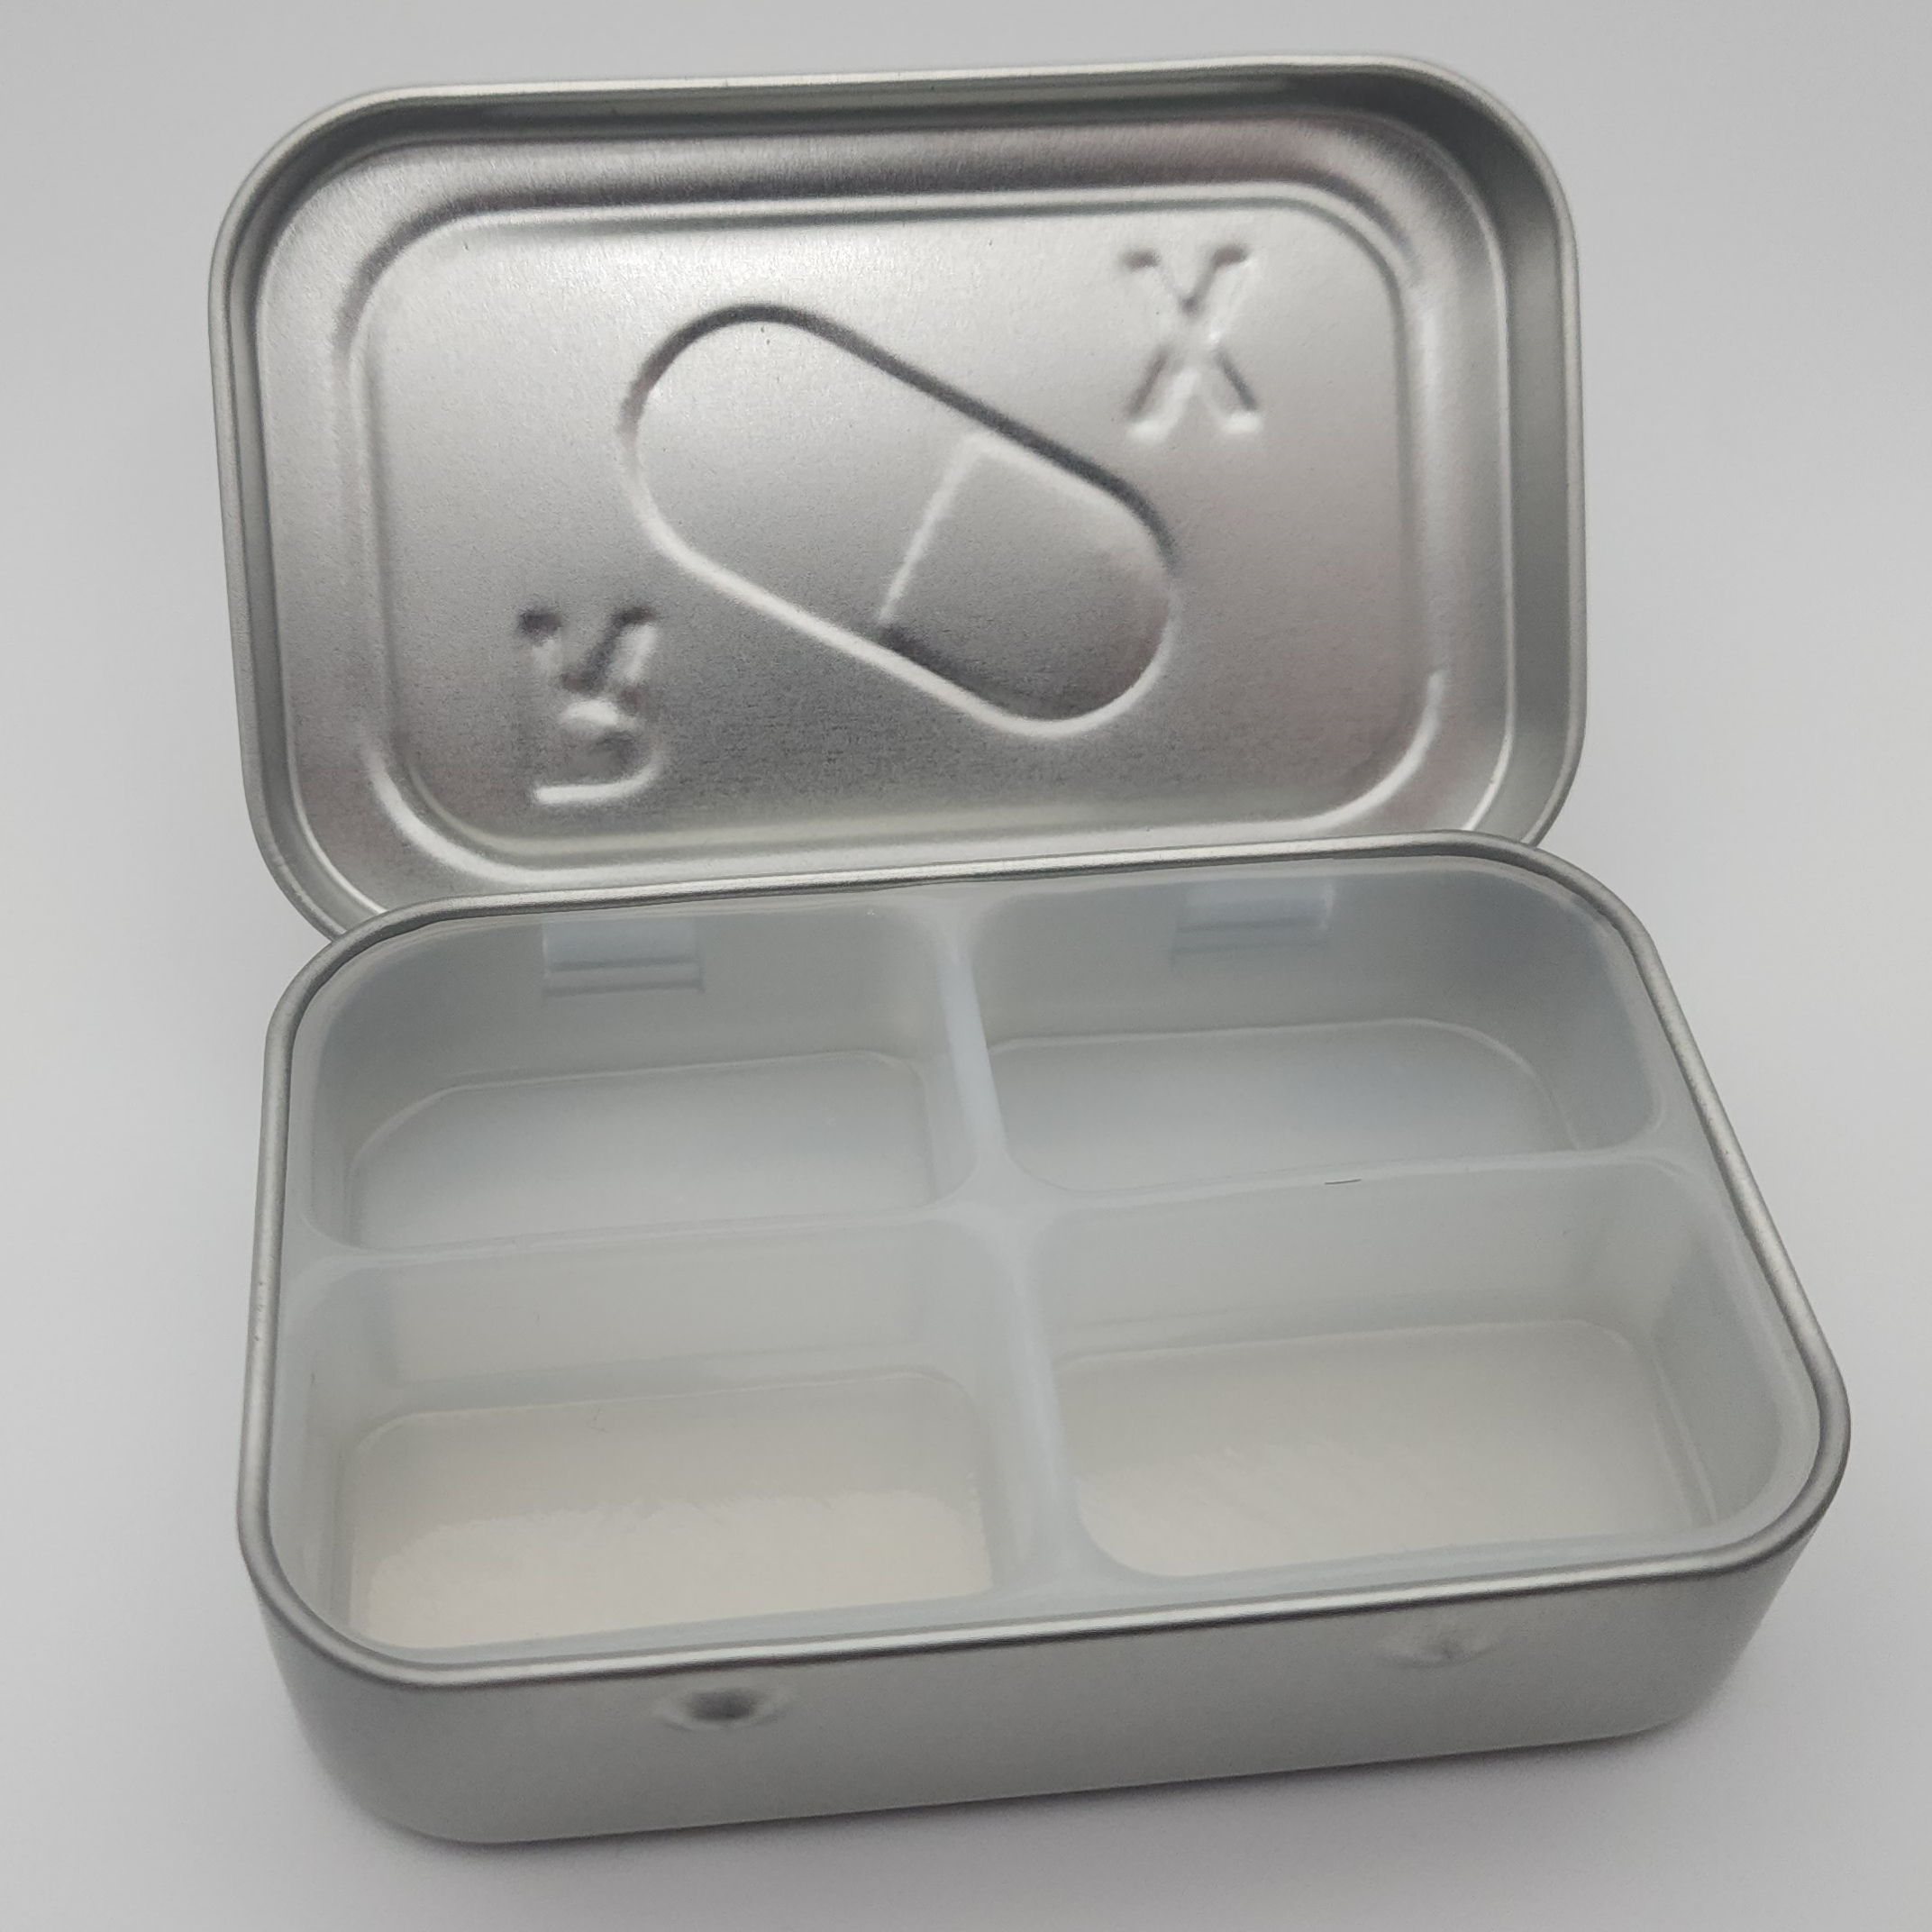
The design of the metal tin includes an embossed cover design with an accenting red vinyl decal. Before applying the decal, the tin’s design must be pressed into the lid to give that embossed texture. For this I utilize a 3D printed punch and die that was able to achieve a repeatable high quality embossing of the tinplated steel with only using 3D printed parts. In the early stages of production a manual hand press was used where with the current production a small manual shop hydraulic press is used with a pressure gauge for consistent pressure across parts. Since the 3D printed version had proven consistent quality with a surprisingly high durability and low cost, new versions of the punch and die were not urgent.
The upgrades
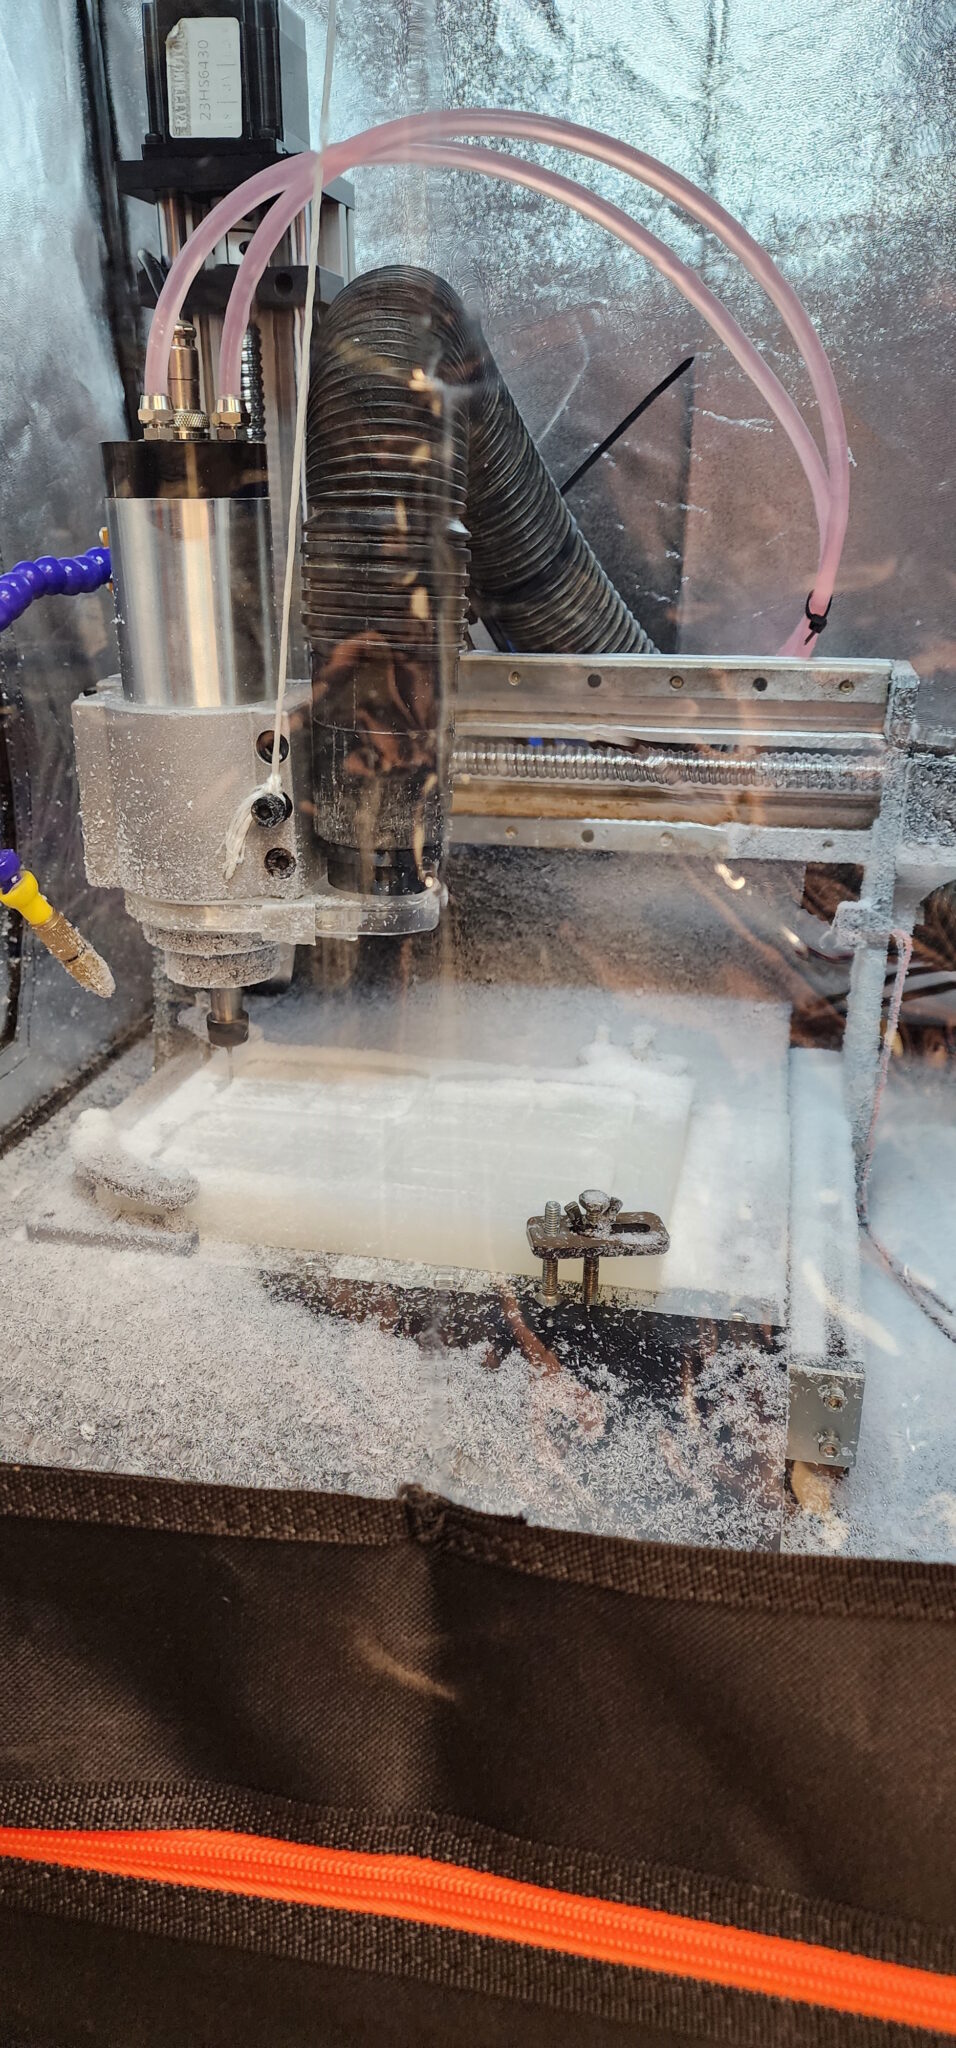
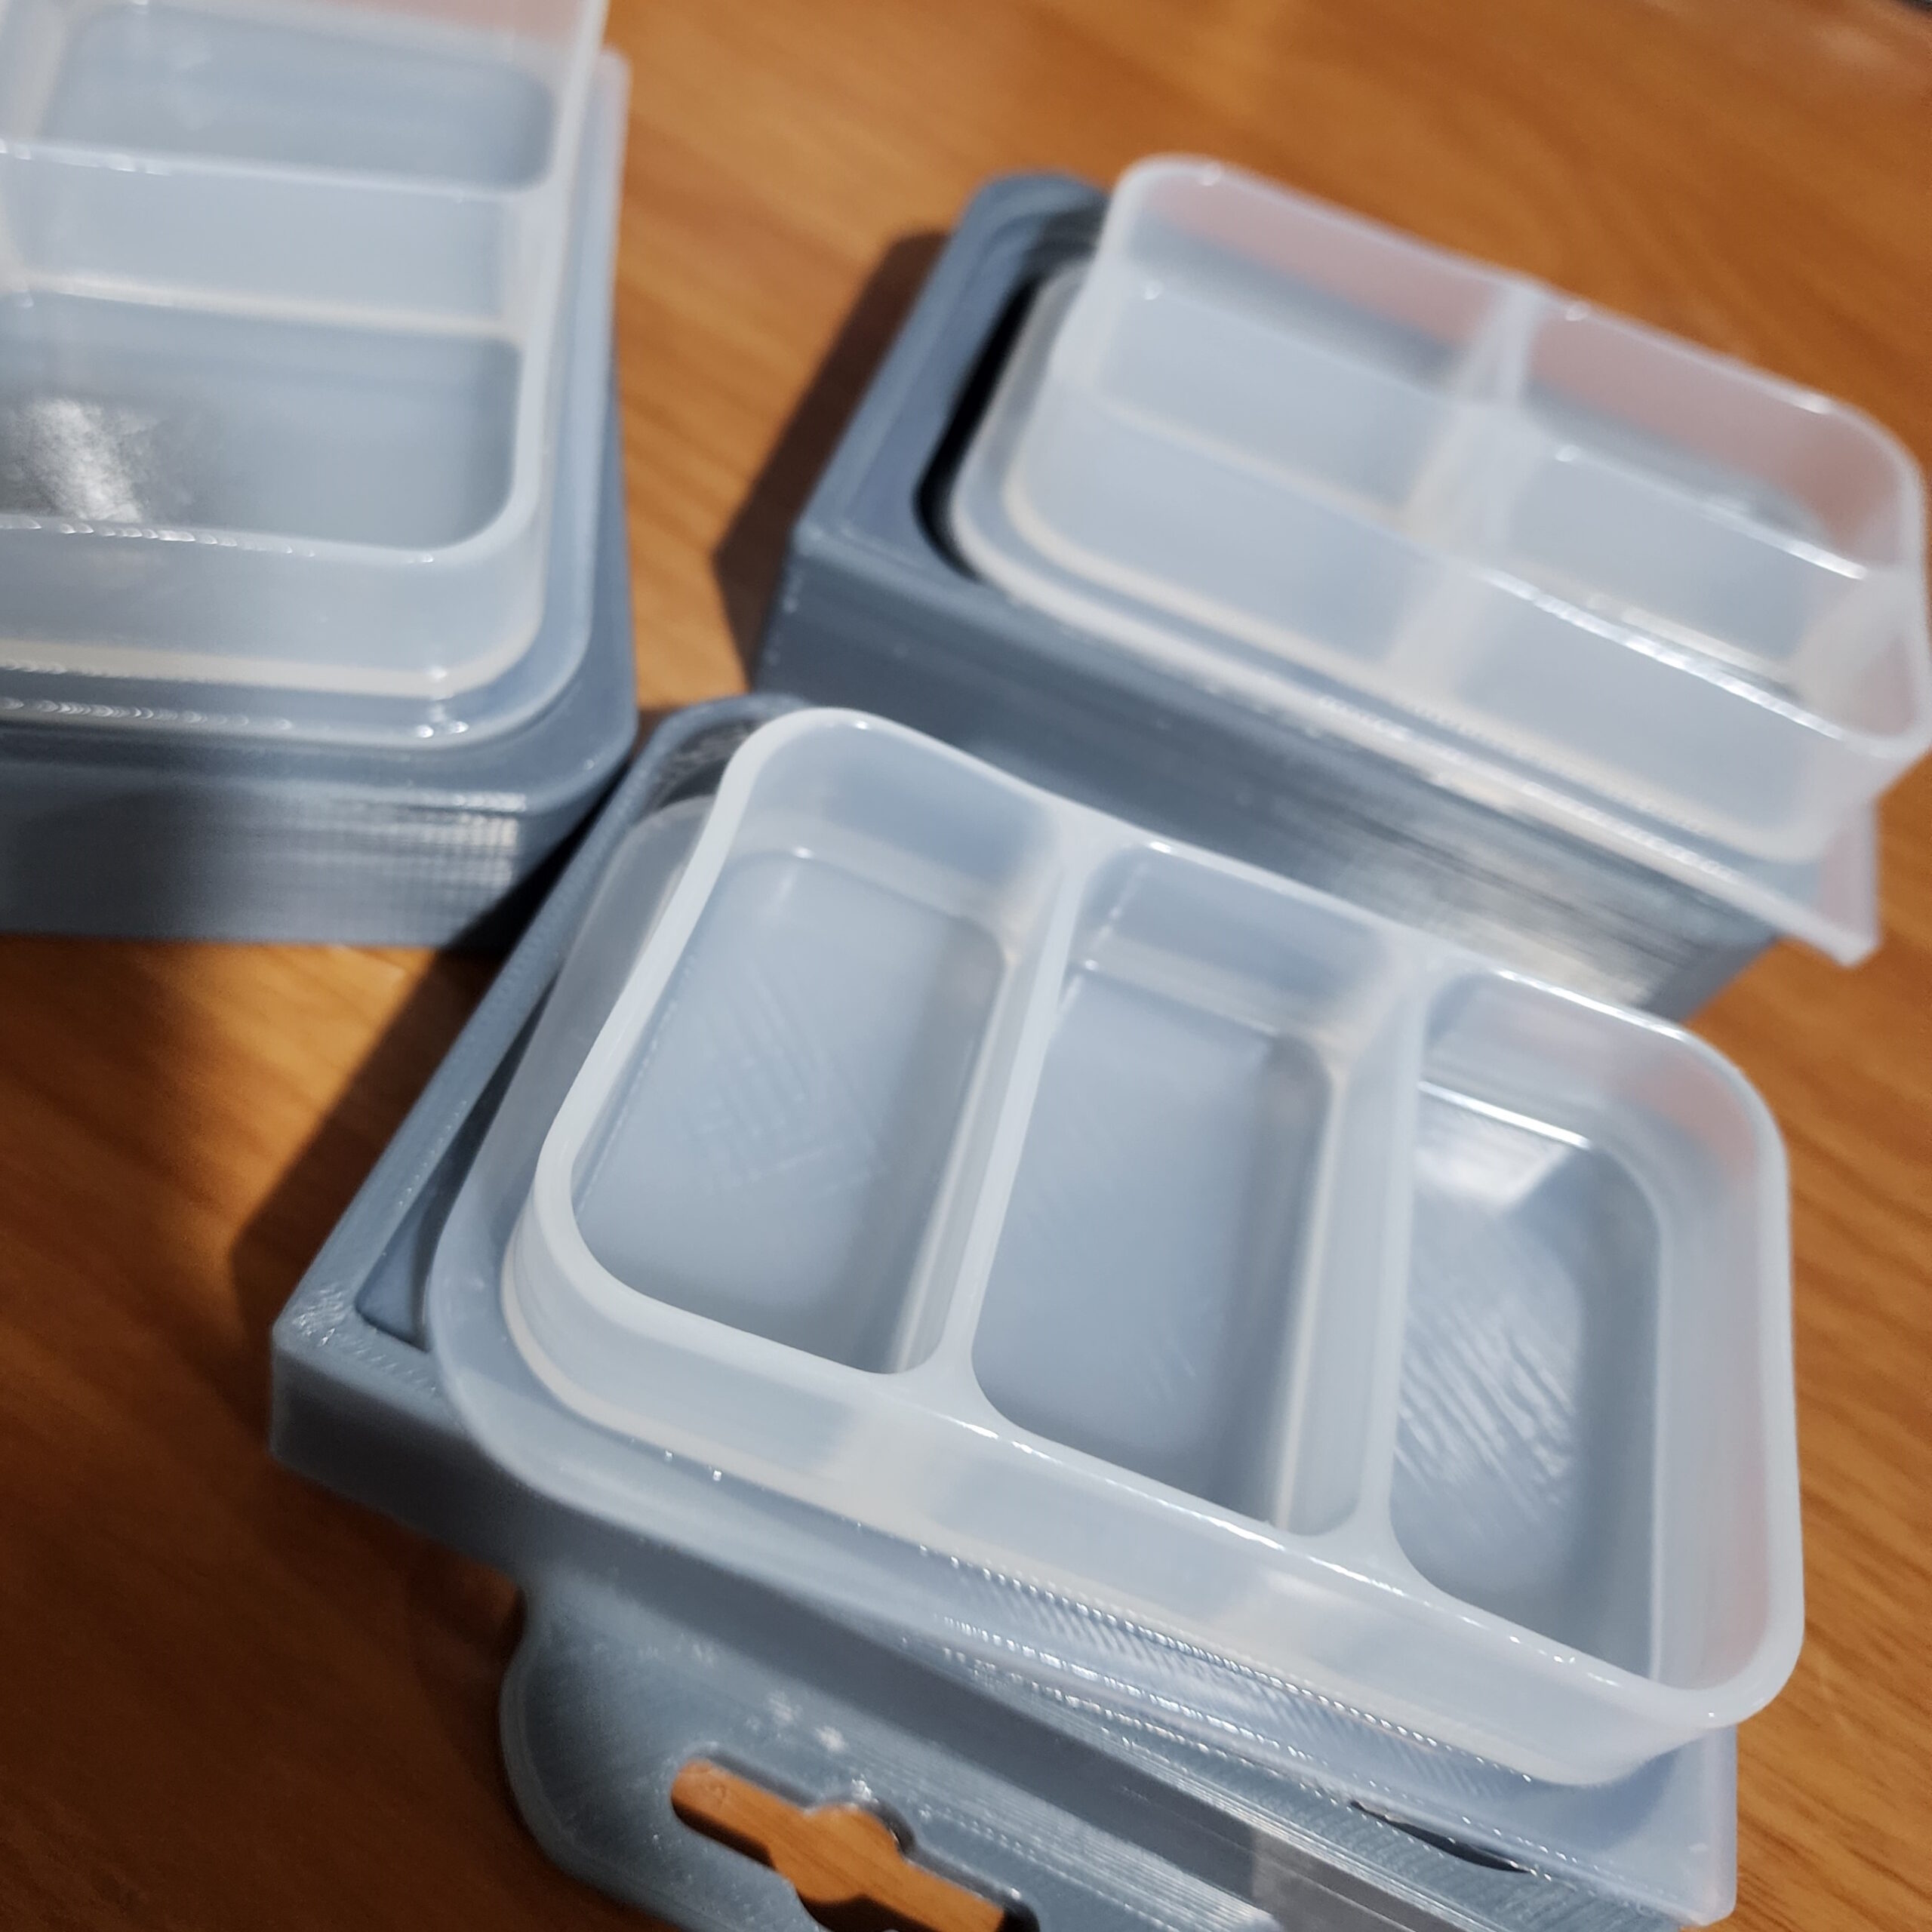
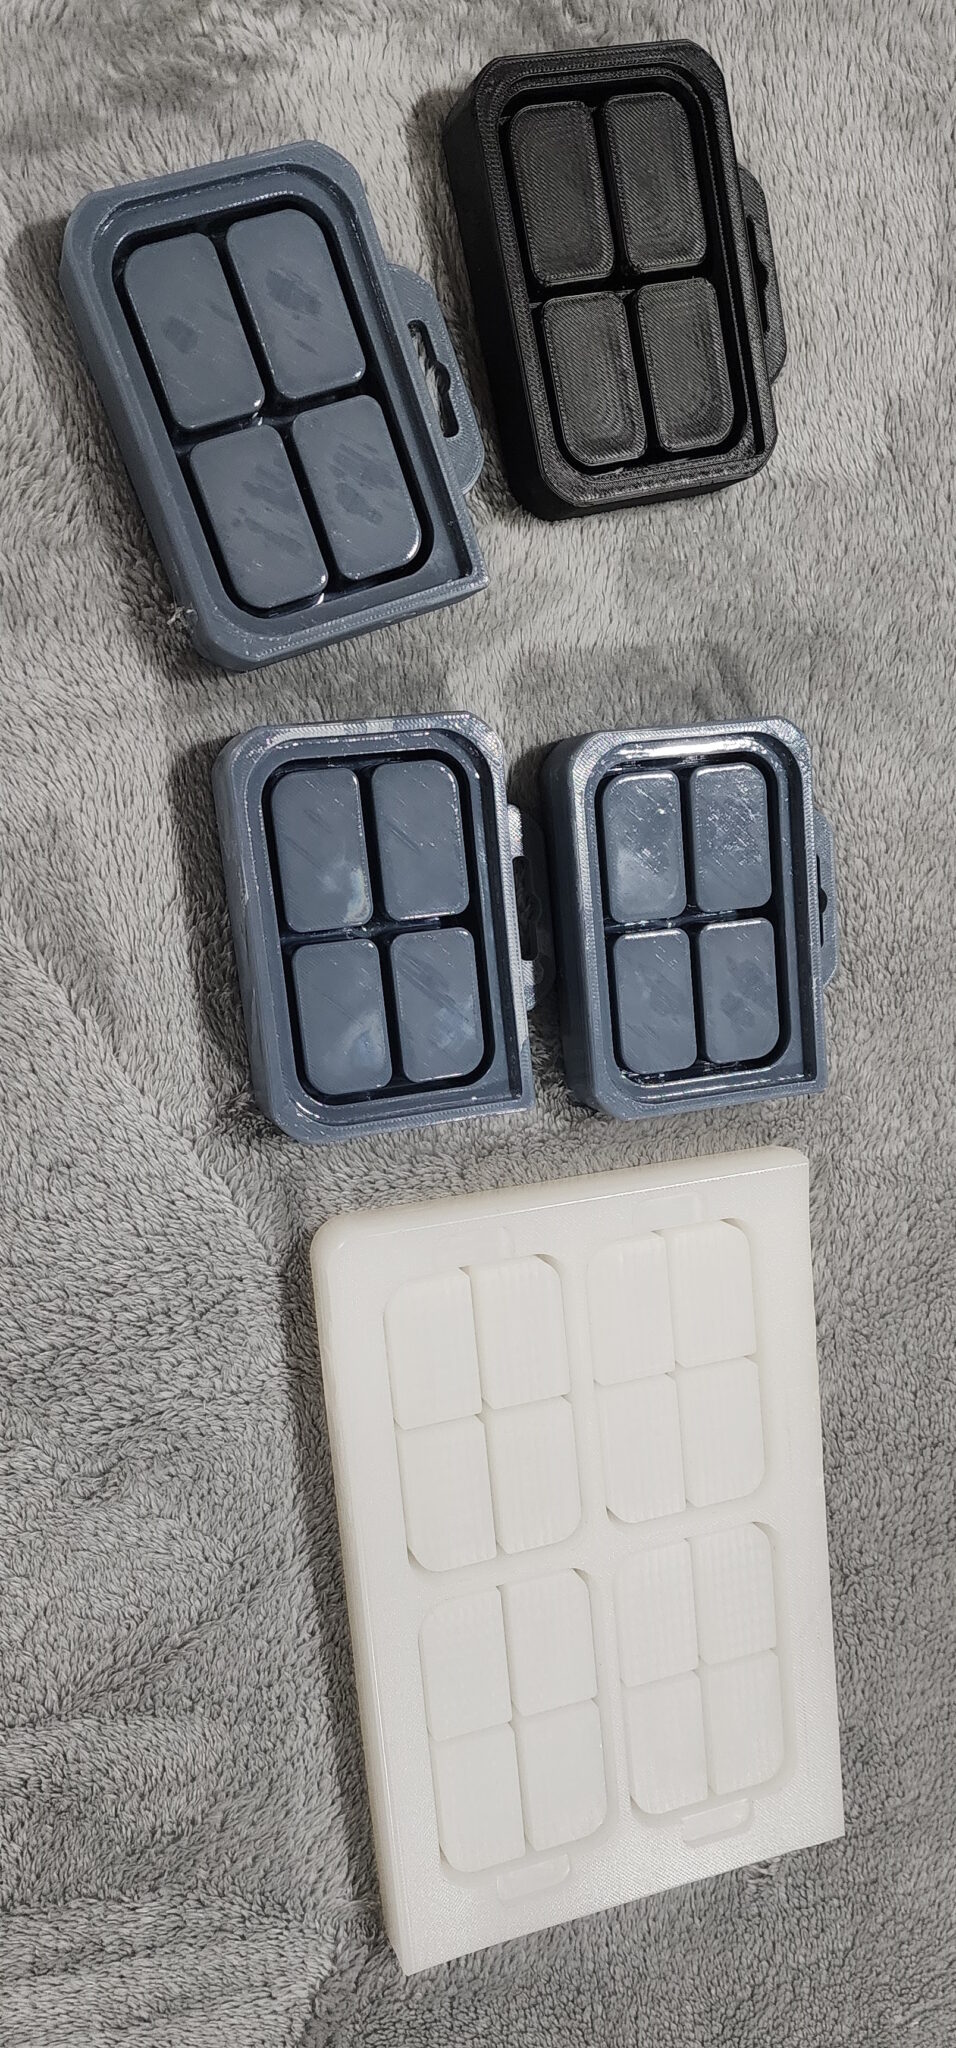
One part of the product I had several iterations with to end up at a high quality update was the silicone rubber insert. To manufacture the insert, a two part additive cure silicone is mixed as a liquid before solidifying into a flexible rubber. A mold with a cavity the shape of the final silicone insert geometry was made to cast the silicone in. Due to the deep and narrow channels that make up the divider sections of the insert, machining the divider features using traditional CNC milling would be challenging.
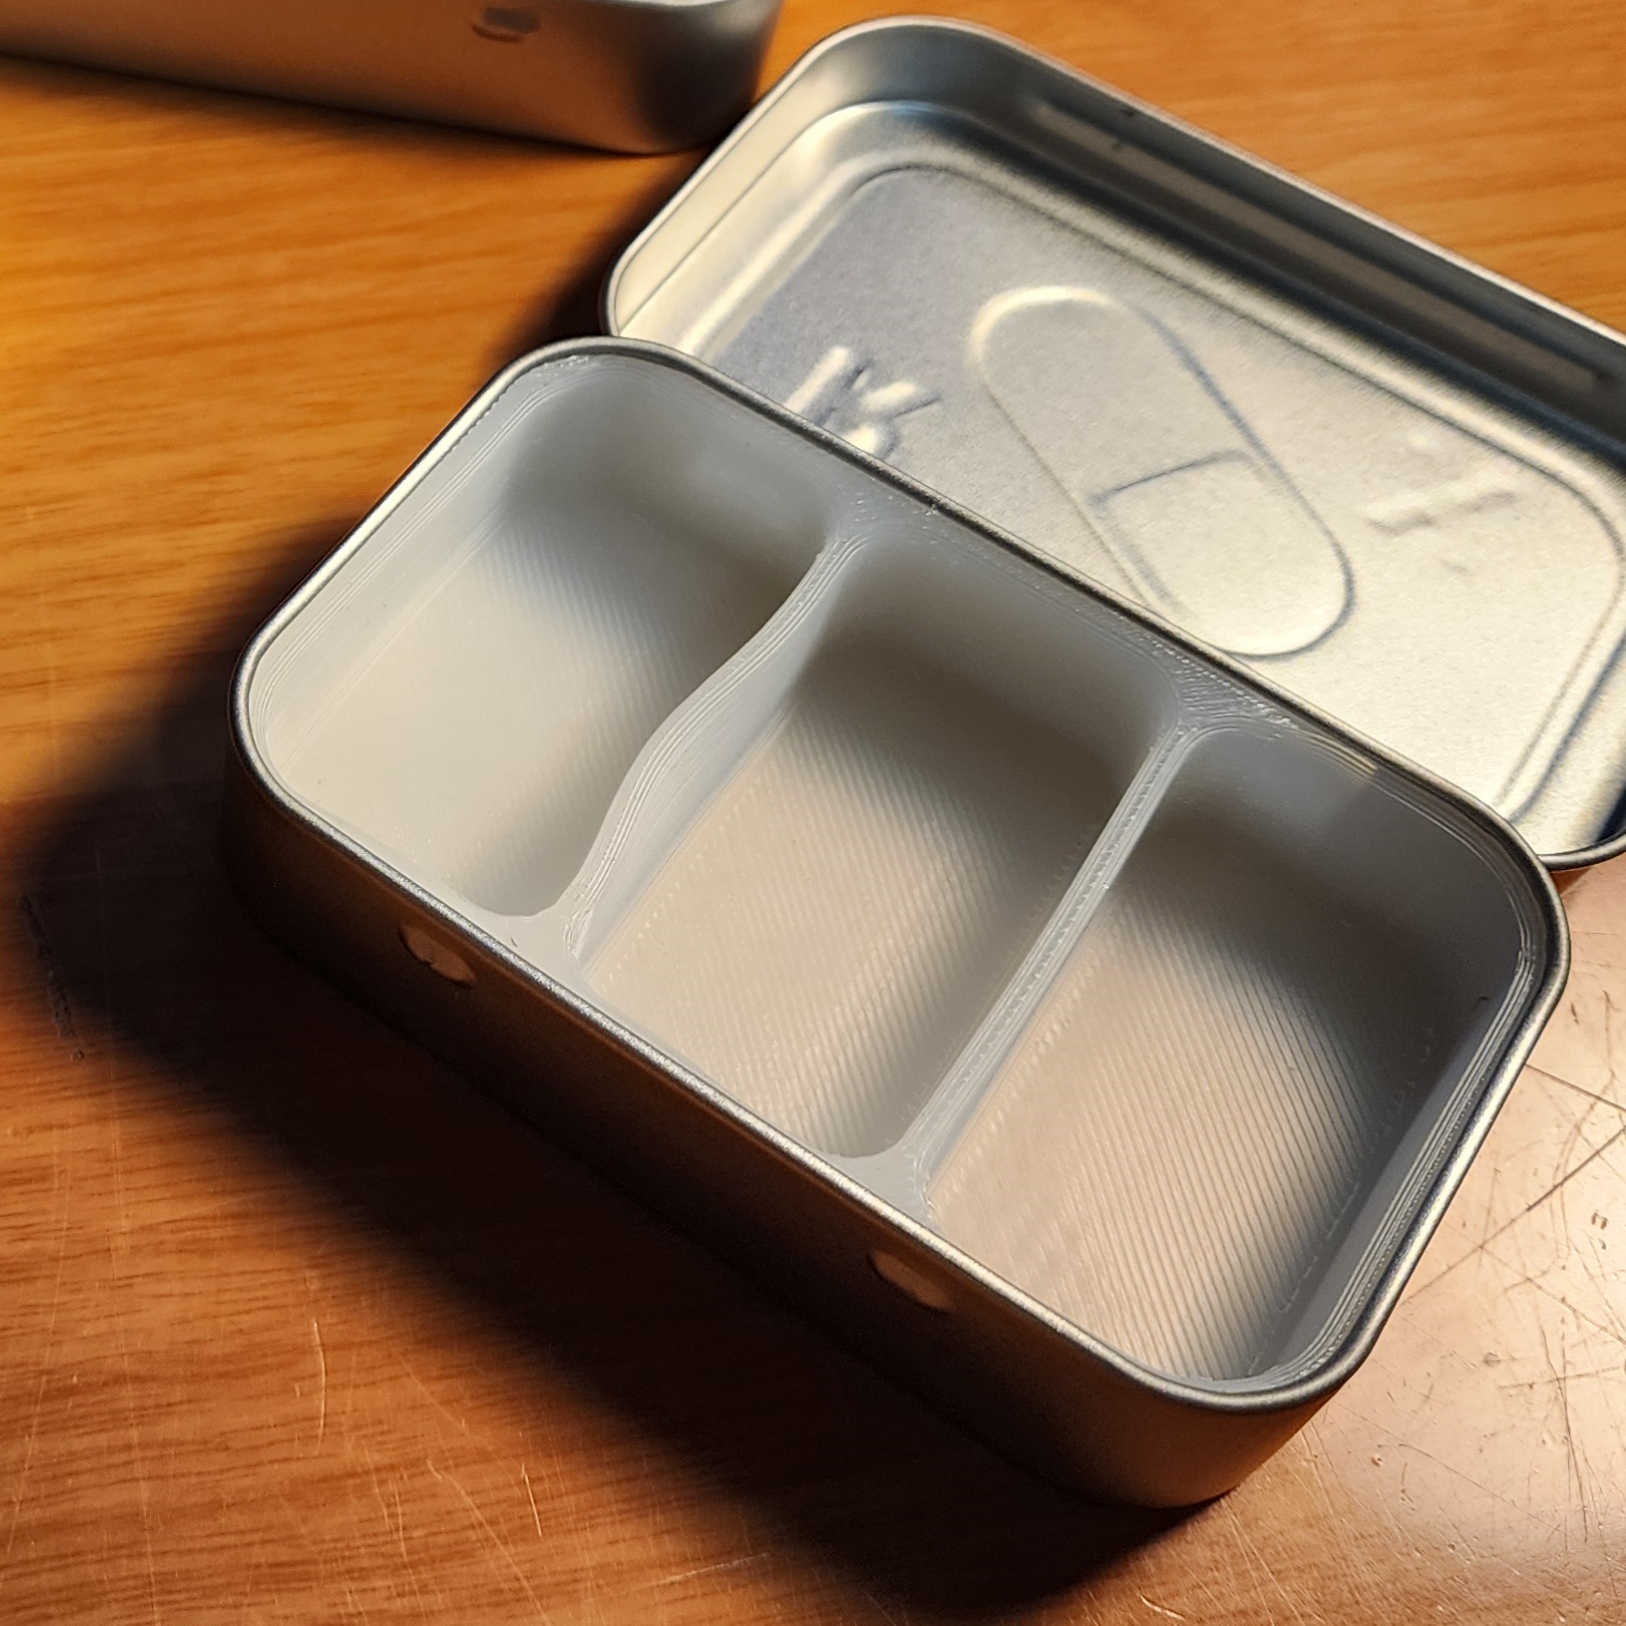
As a result of these difficulties, 3D printing was chosen for the first version of the product. While the functionality of the product was acceptable, the appearance was something I was not satisfied with. Personally, I am not a big fan of the look of FDM 3D printed parts with layer lines as a finished product, and even though the functionality was perfectly fine. Printing the mold at an angle and turning down the layer height setting certainly helped the issue by minimizing layer lines, but I still wasn’t satisfied so I tried something completely different: acetone smoothed ABS molds. I still got the benefit of being able to 3D print them for low individual cost, and by changing materials to ABS and adding an acetone smoothing step to chemically erase the layer lines the silicone insert was incredibly smooth and glossy. The first couple of pulls of the ABS molds were outstanding quality, however after about a half dozen uses the ABS was starting to deteriorate and form cracks reaching end-of-life for that mold. This was behavior not seen in any other material, but it appears the acetone post processing step had embrittled the surface to the point of damage and the resulting lifespan of the ABS was not good enough for my liking.
Not wanting to return to the original rough looking version, I had brainstormed on the next version of mold, now turning my attention to CNC machining. I had known that making a mold with 2.5mm wide trenches 20mm deep was impractical in essentially all materials due to the tooling aspect ratio, but at the risk of just breaking a bit I had decided to try it out with plastics. The first attempts was with a repurposed cutting board made of HDPE, but learned quickly about workpiece warpage, stress relief, and cast versus extruded grades of plastics for machining (you get what you pay for).

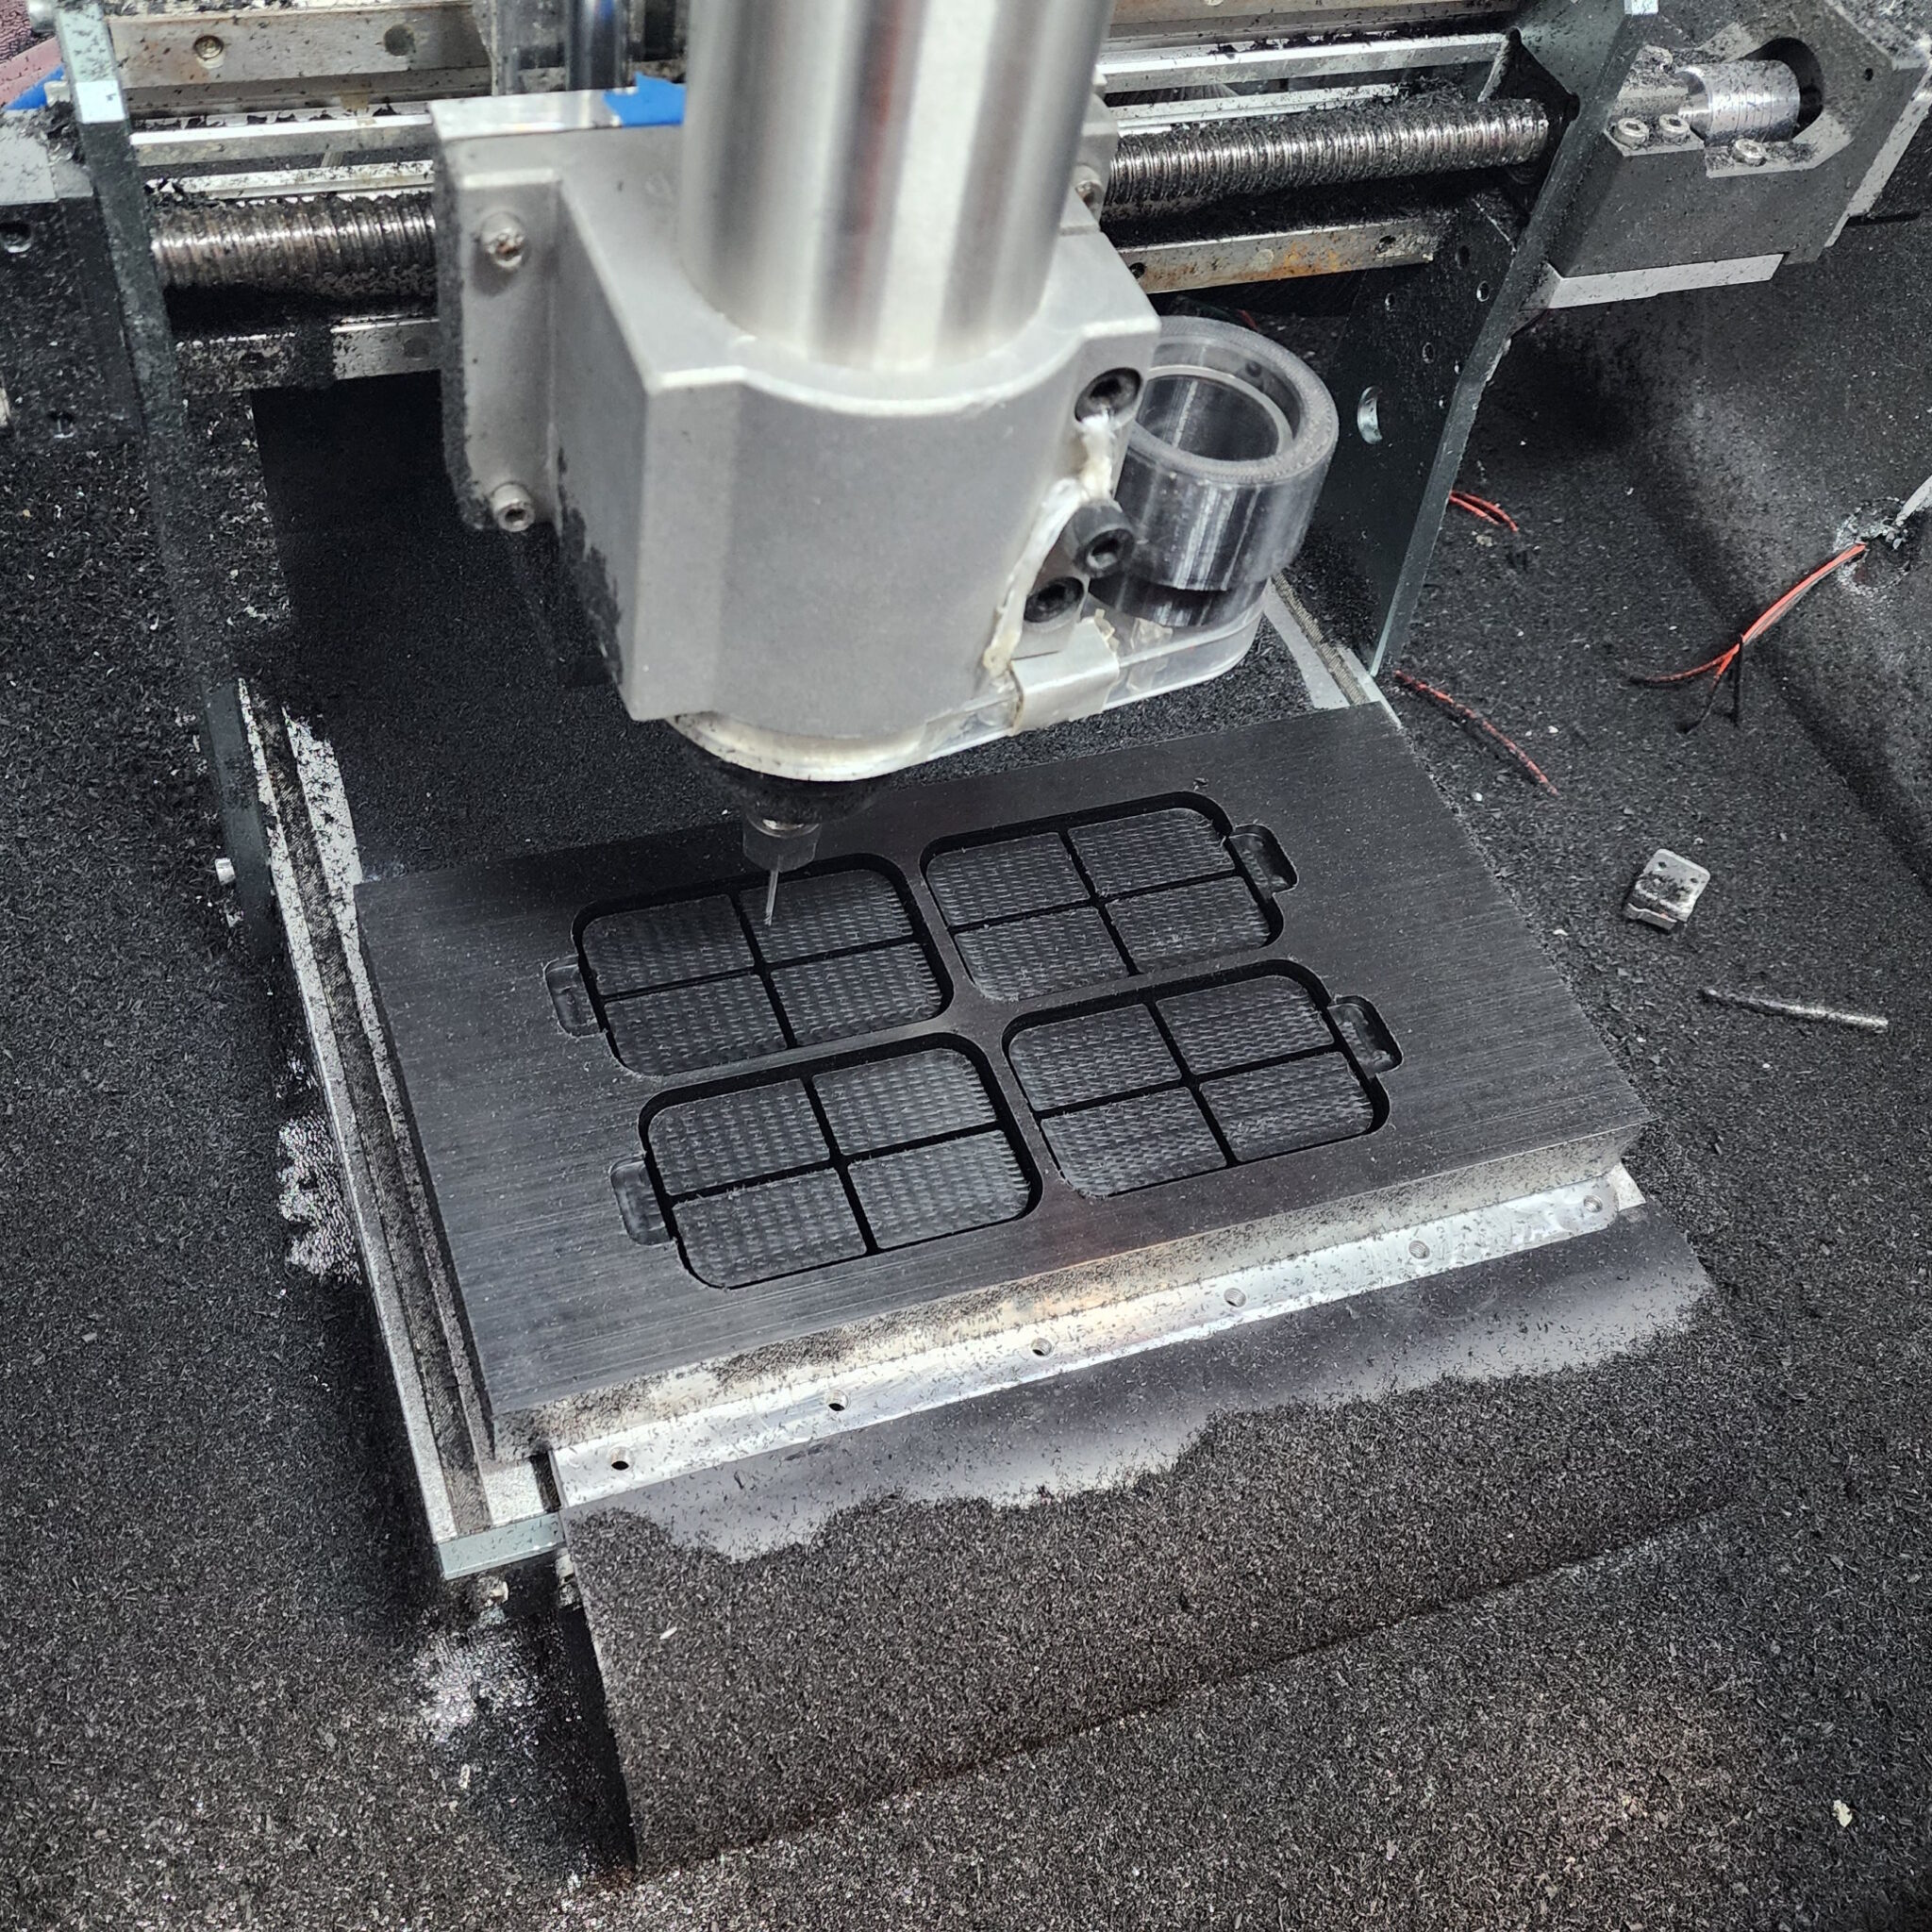
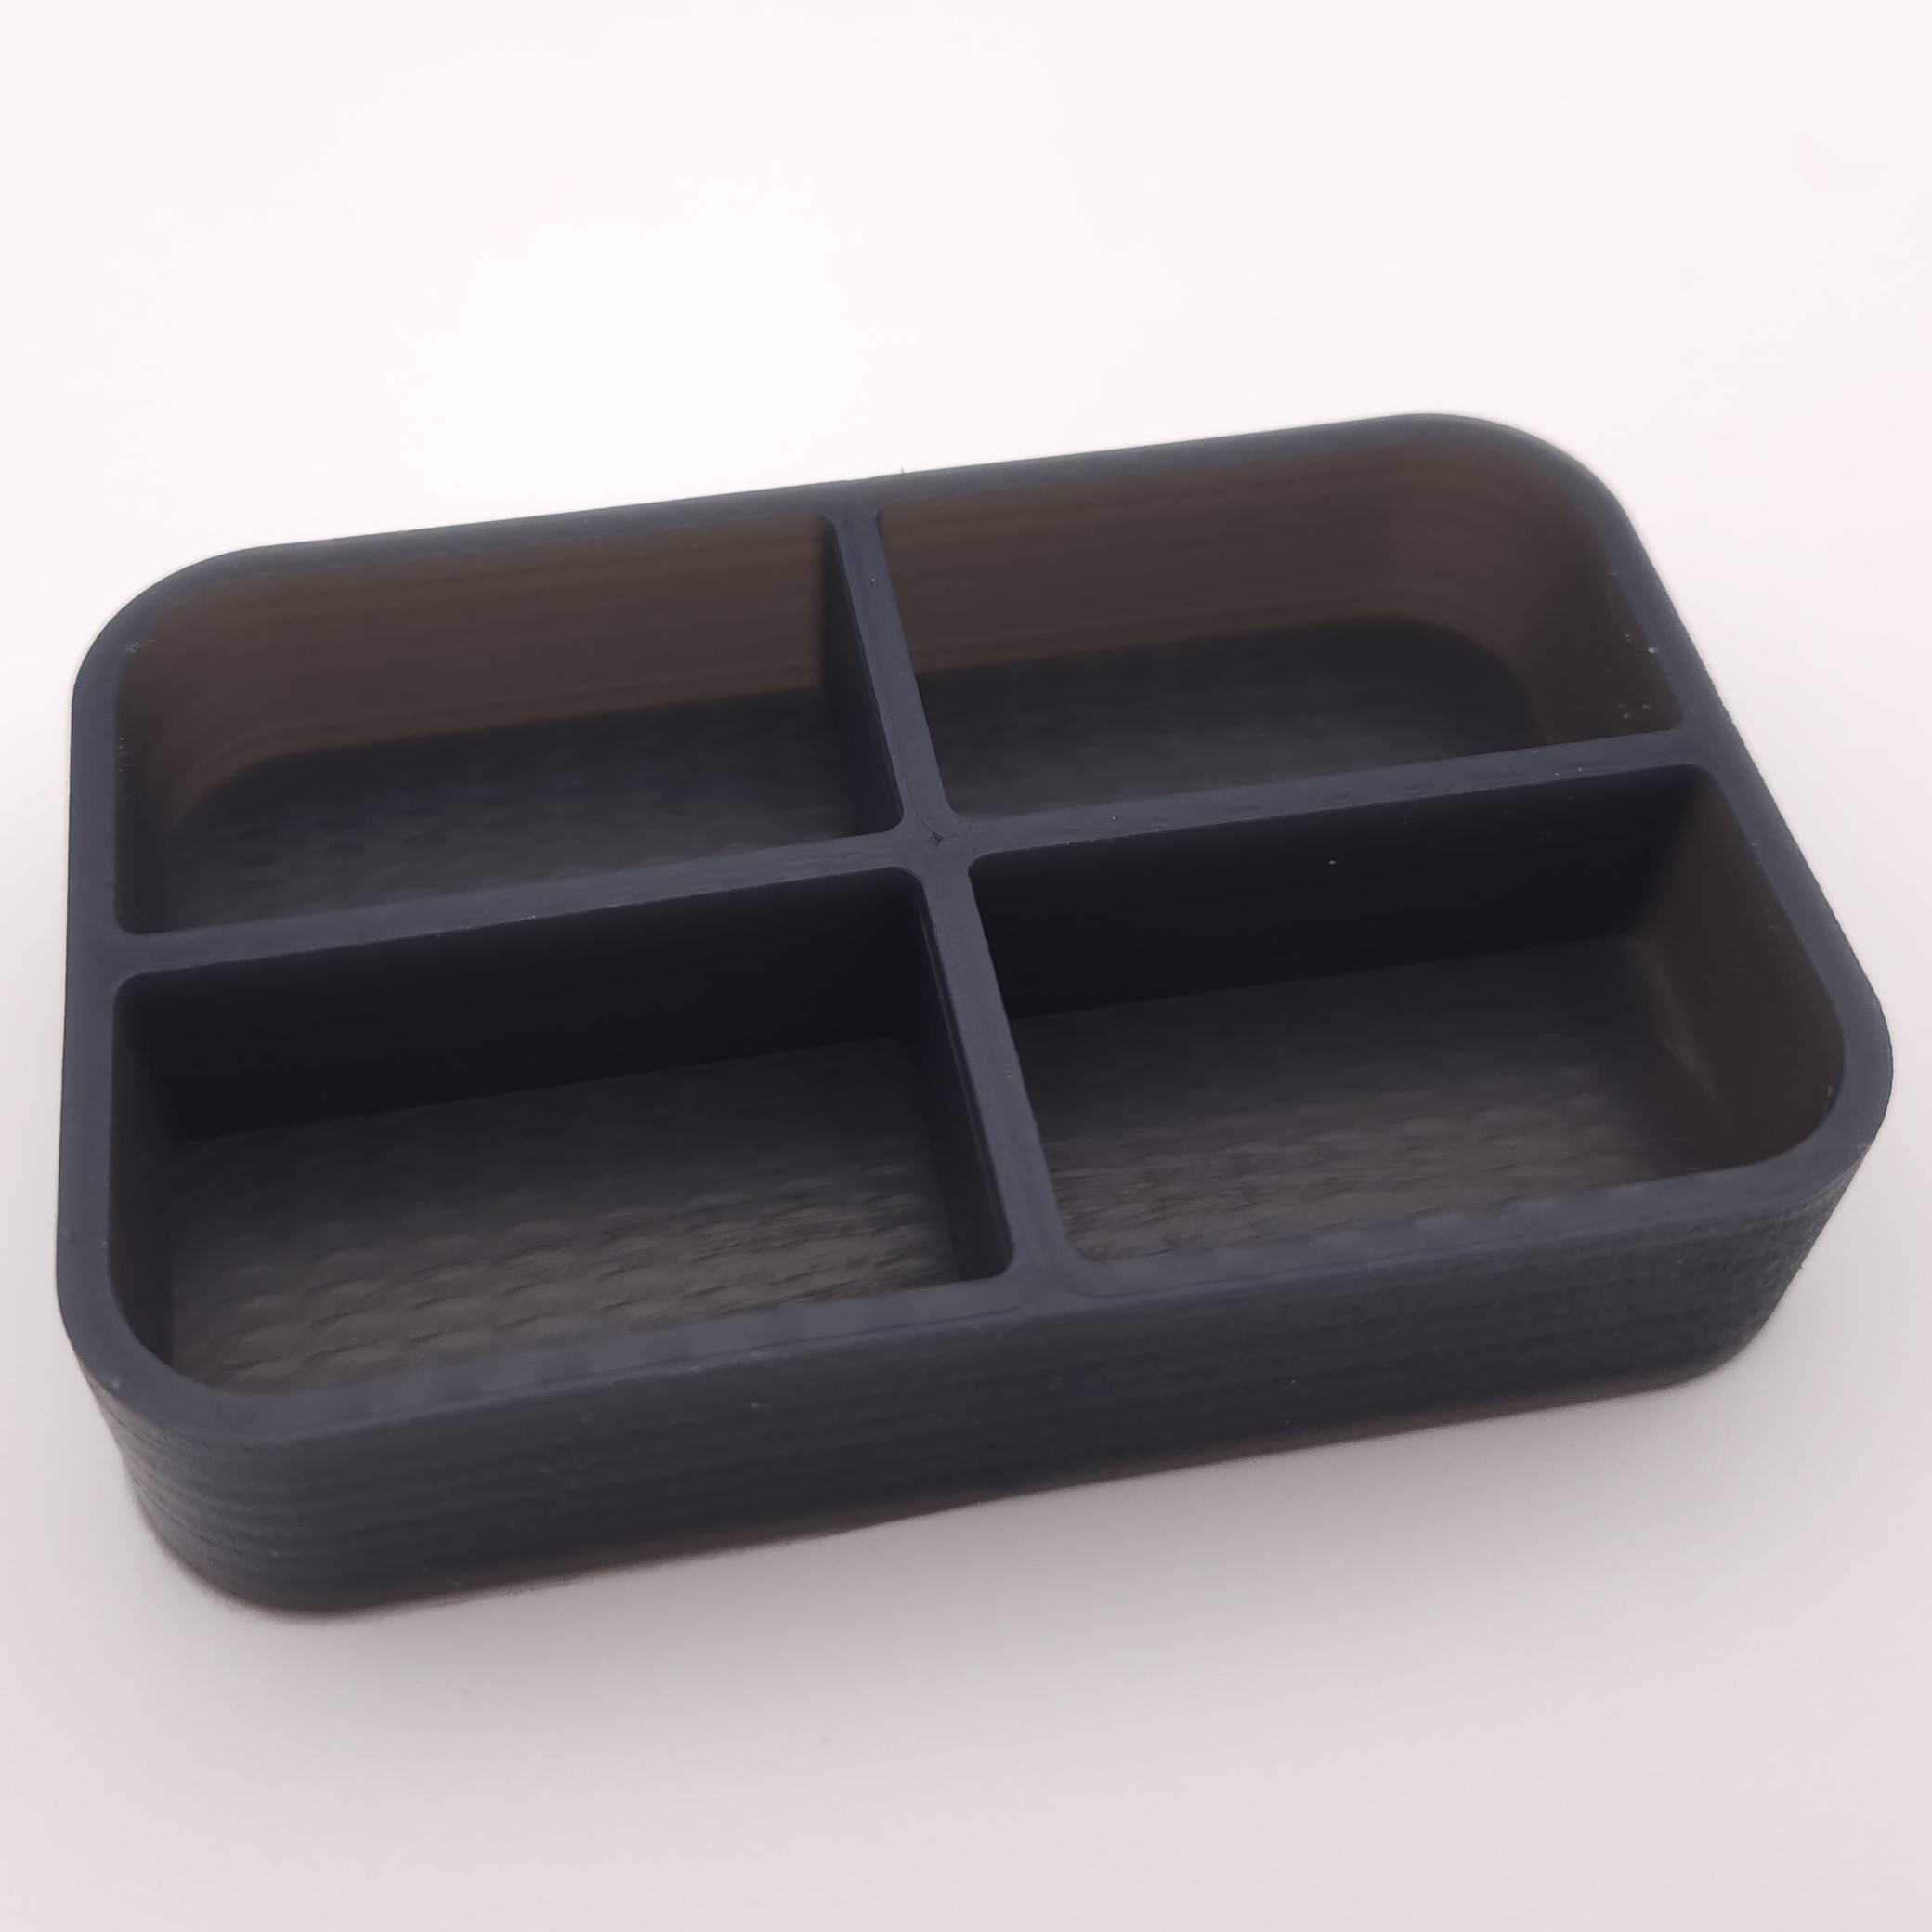
I had then tried with a piece of Delrin (or more accurately, generic black POM) with it’s listed use being machining stock. While there was some small warping in the end product requiring a shim in one corner to properly level the mold for curing, it did not majorly affect the outcome quality of the inserts. The contouring operation was done with a steady supply of air for chip clearing to reduce any chip buildup on the 2mm diameter 20mm long end mill, and held up surprisingly well surviving machining a dozen of the HDPE and POM molds each with 4 insert molds. The output quality of the silicone inserts was much improved looking just as good if not better than the chemically smoothed ABS.
Outcomes
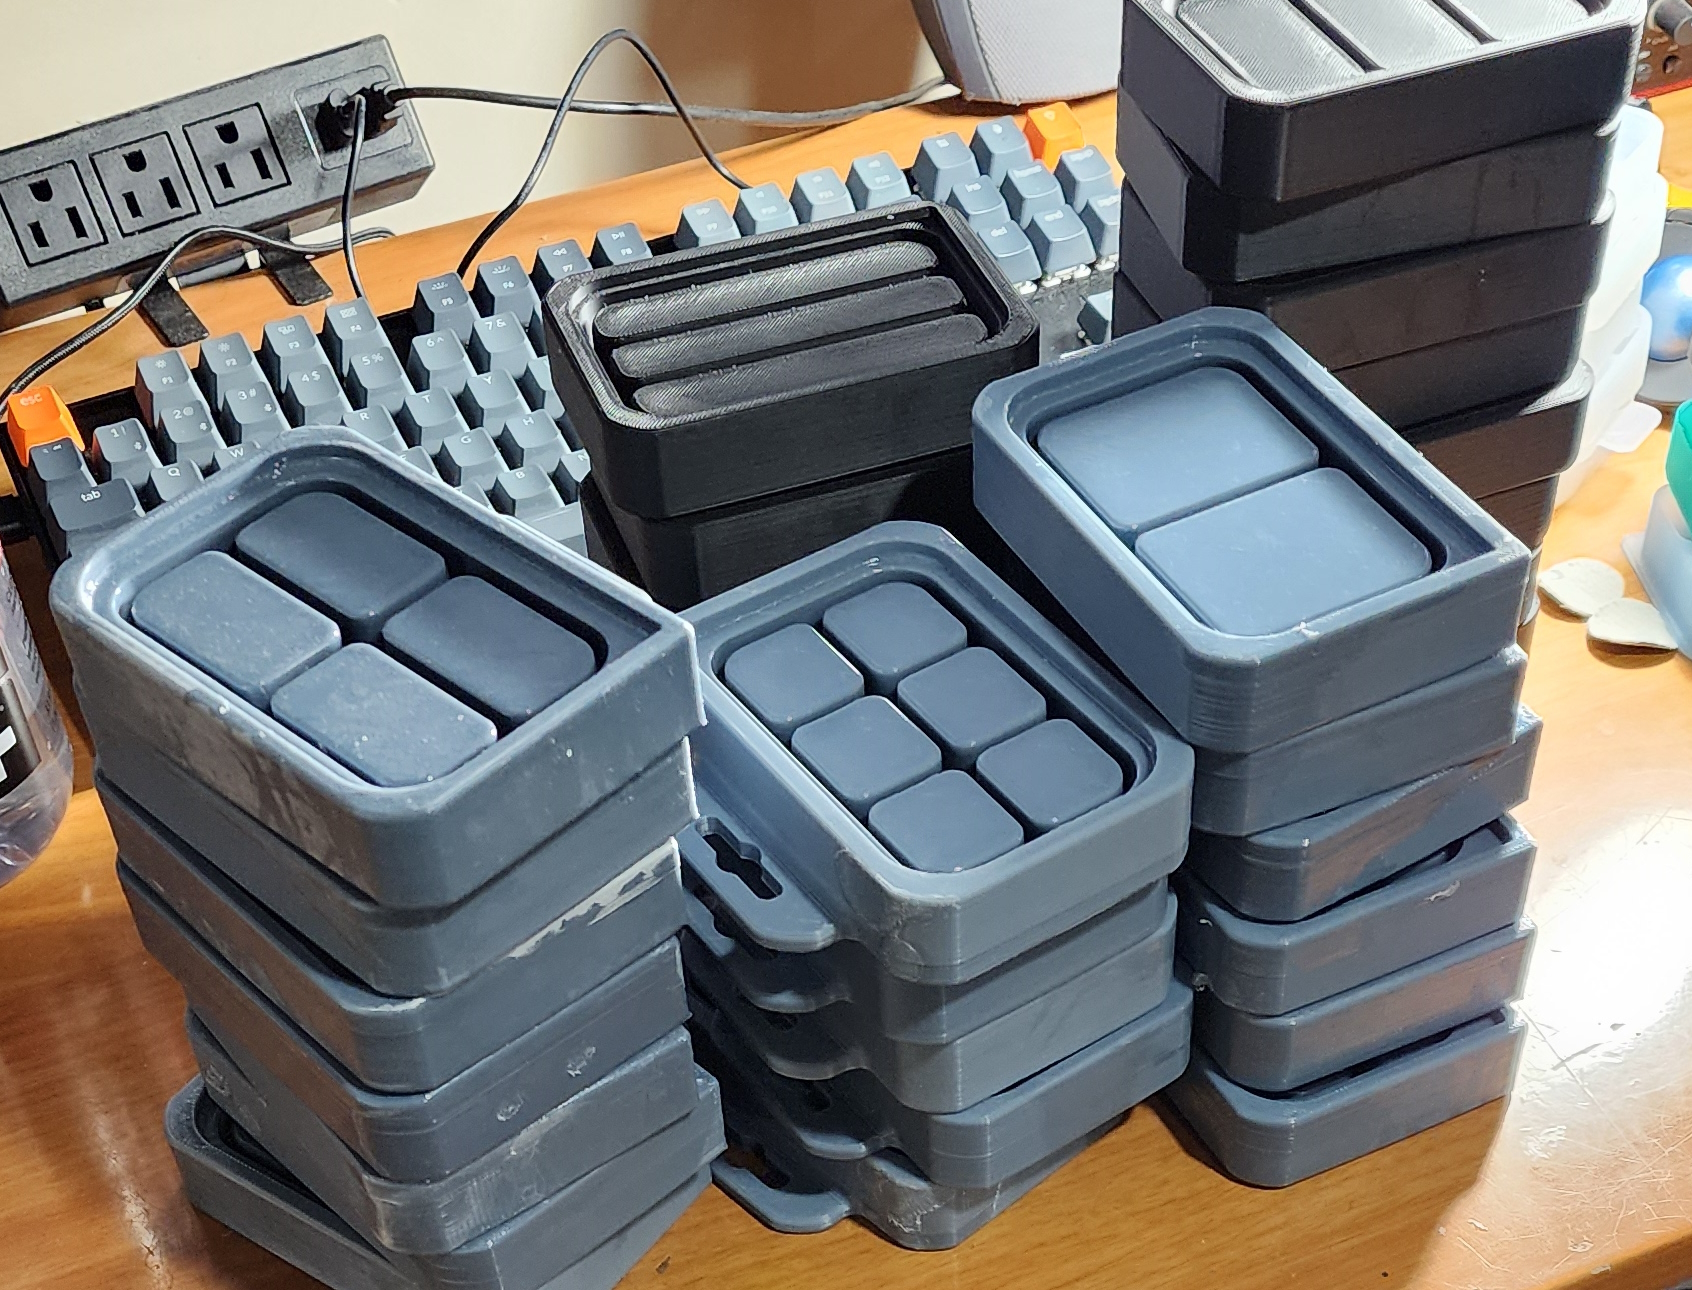
As I kept leveling up my understanding of my product and my customers, so did my design and manufacturing. From the beginning of FDM layer lines, to acetone bathed ABS, to CNC milled plastic, the quality for the customers continued to improve as I learned more, and I found more ways to improve my production process and supplies to improve production rates and reduce input costs. The cost of the upgrade from 3D printed to CNC milled POM was essentially just the price of the special 2mm deep reach end mill ($12) and the plastic feed stock ( $36) which increased the price of each mold from about $2.66/insert mold up to $9.25/insert which is a large increase in mold cost. However the benefit in quality and expected durability is well worth the cost in my opinion, and the new mold would still pay for itself within a few uses.
The most impactful change was changing from ambient curing to curing at 50degrees Celsius, which decreased cure time by 87%. This change made the silicone more prone to trapping air bubbles in the viscous silicone, but by pulling a strong vacuum on the silicone and having a slow steady pour, no issues arose. Additionally changes made in the other steps of the workflow such as the pressing of the tin and mixing of the silicone were improved with upgraded tooling like the hydraulic press and motorized mixers which reduced worker fatigue and reduced the embossing time by 25%, and mixing and casting time by 36%. Silicone costs were decreased by opting for larger bulk containers which accounted for a 21% total material cost reduction from the initial batches.
What I’ve learned
I had learned a lot throughout the evolution of the product and taught me a lot of firsts, like silicone mold design, rudimentary punch and die design, printing and smoothing ABS, behaviors of different plastics, milling plastics on a CNC, systematically reducing cost, production time and identifying bottleneck areas in a production process. Now without the original layer lines and with a much more consistent embossed lid design, the travel pill tin has moved on to being a finished looking and feeling product. There are still more ideas I have for how I could continue to improve the process to scale further with changes to the embossing press and speeding up the application of the vinyl decaling, however the demand is not yet there for such changes so for the time being I can be satisfied with this version of my product.